How to use the Speech recognition BLOCK
How to use the Speech recognition BLOCK
This page explains how to use the Speech recognition BLOCK to convert speech to text data.
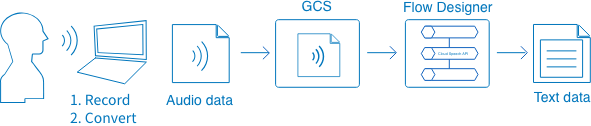
We've prepared sample audio data for you to use. If you'd like to prepare your own audio file, please refer to the appendix for instructions on how to record and convert files.
For more information on the basics of how to use BLOCKS, refer to the Basic Guide. We recommend viewing the Basic Guide before following the tutorial on this page.
In particular, we recommend the following pages regarding the Flow Designer:
Table of Contents
- Setup
Explains how to prepare the audio data and the Flow Designer's Flow. - Explanation
Explains details about the Flow prepared in the Setup section. - Appendix
Explains how to create the audio data used in this guide.
Setup
We’ve prepared an audio file and a file containing two Flow Designer Flows for you to download and use with this guide. Follow the instructions listed below to load them into your own BLOCKS environment.
| Data | Explanation |
|---|---|
| file_download Sample audio file |
This audio file is a reading of the following passage from the BLOCKS front page:
|
| file_download Sample Flow |
This file contains two sample Flows. The first simply uses the Speech recognition BLOCK, while the second also sends the results to BigQuery.
|
Explanation
The first Flow is a very simple example of using the Cloud Speech-to-Text API to convert an audio file into text.
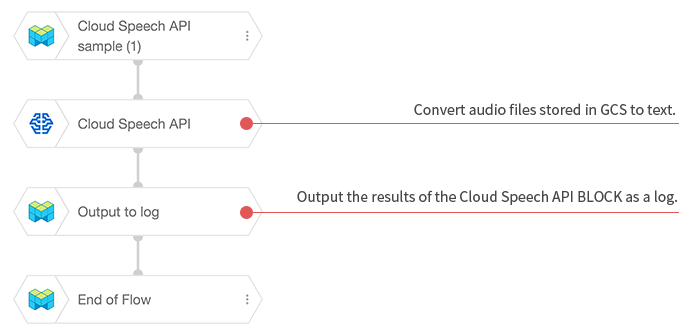
By simply placing a Speech recognition BLOCK from the Machine Learning category, we can create a text transcription of an audio file that has been uploaded to GCS.
The chart below lists the property settings for each BLOCK (only those that differ from the default settings). Each BLOCK also contains an explanation for what it does in its “BLOCK memos” property, but these are not included in this chart.
| BLOCK (Category) |
Property | Value |
|---|---|---|
| Start of Flow (Basic) |
BLOCK name |
Cloud Speech API sample (1) info_outline We changed the name displayed on this BLOCK to distinguish this Flow from the other sample. |
| Speech recognition (Machine Learning) |
GCP service account | If you have more than one GCP service account, select the account you want to use with this BLOCK. |
| Audio file GCS URL |
gs://my-bucket/speech_api_sample_voice_en.flac info_outline Replace the my-bucket portion with the name of your GCS bucket that contains the audio file. |
|
| Results variable | _ | |
| Encoding | FLAC | |
| Sampling rate | 16000 | |
| Language code | English (United States) | |
| Output to log (Basic) |
Variable to output | _ |
Click the play_circle_outline button within the Start of Flow BLOCK's (BLOCK name: Cloud Speech API sample (1)) properties to execute the Flow.
If successful, a log similar to the one shown below will be output to the Logs section.
{
  "results": [
    {
      "alternatives": [
        {
          "transcript": "with an intuitive design and affordable pricing plans blocks makes getting started with machine learning simple now businesses can make data-driven decisions themselves without the need for expensive services in expert help",
          "confidence": 0.9624174
        }
      ]
    }
  ],
  "gcs_url": "gs://my-bucket/speech_api_sample_voice_en.flac",
  "timestamp": 1497943130.0
}
"transcript": "with an intuitive design...in expert help" This portion contains the results of transcribing the audio file.
"confidence": 0.9624174 This portion contains a value showing the level of confidence that the results are correct. The confidence level is on a scale of 0.0 to 1.0 with a higher number showing a higher confidence. Generally, this is only output for the text with the highest confidence level.
These results have about a 96% confidence level, and there was a bit that wasn't transcribed correctly (shown in red letters above).
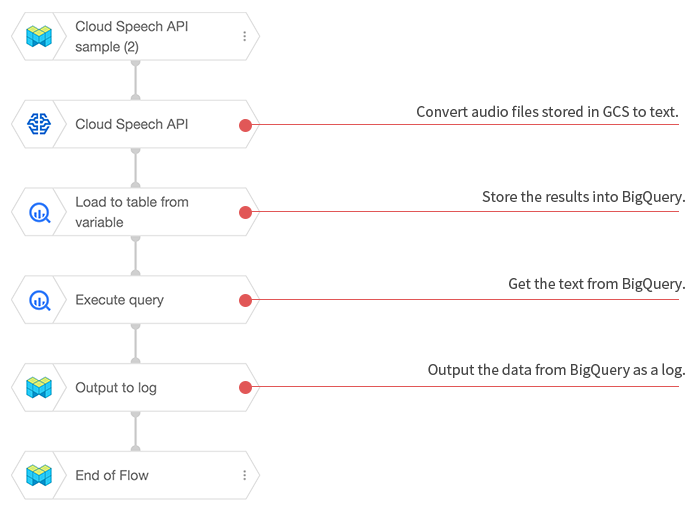
By entering important vocabulary or phrases into the Contextual word/phrase hints property of the Speech recognition BLOCK, we can raise the accuracy level of the transcription.
We'll be doing this in the second example Flow, as well as storing the transcription results into BigQuery.
The chart below lists the property settings for each BLOCK (only those that differ from the default settings). Each BLOCK also contains an explanation for what it does in its “BLOCK memos” property, but these are not included in this chart.
| BLOCK (Category) |
Property | Value | |||||||||||||||||
|---|---|---|---|---|---|---|---|---|---|---|---|---|---|---|---|---|---|---|---|
| Start of Flow (Basic) |
BLOCK name |
Cloud Speech API sample (2) info_outline We changed the name displayed on this BLOCK to distinguish this Flow from the other sample. |
|||||||||||||||||
| Speech recognition (Machine Learning) |
GCP service account | If you have more than one GCP service account, select the account you want to use with this BLOCK in this property. | |||||||||||||||||
| Audio file GCS URL |
gs://my-bucket/speech_api_sample_voice_en.flac info_outline Replace the my-bucket portion with the name of your GCS bucket that contains the audio file. |
||||||||||||||||||
| Results variable | _ | ||||||||||||||||||
| Encoding | FLAC | ||||||||||||||||||
| Sampling rate | 16000 | ||||||||||||||||||
| Language code | English (US) | ||||||||||||||||||
| Max alternatives |
3 info_outline Since we'll be storing the results into BigQuery this time, we'll get 3 alternative transcriptions that we can compare later. |
||||||||||||||||||
| Contextual word/phrase hints |
info_outline By entering this, we’re hoping to achieve the following results:
|
||||||||||||||||||
| Load to table from variable (BigQuery) |
GCP service account | If you have more than one GCP service account, select the account you want to use with this BLOCK in this property. | |||||||||||||||||
| Source variable | _ | ||||||||||||||||||
| Destination dataset |
blocks_samples info_outline You can freely rename this to the dataset of your choosing. |
||||||||||||||||||
| Destination table |
speech_api info_outline You can freely rename this to the table of your choosing. |
||||||||||||||||||
| Schema settings |
You can quickly enter these schema settings by clicking the Edit as JSON link and copy-pasting the following code.
[
 {
  "name": "results",
  "type": "RECORD",
  "mode": "REPEATED",
  "fields": [
   {
    "name": "alternatives",
    "type": "RECORD",
    "mode": "REPEATED",
    "fields": [
     {
      "name": "transcript",
      "type": "STRING",
      "mode": "NULLABLE"
     },
     {
      "name": "confidence",
      "type": "FLOAT",
      "mode": "NULLABLE"
     }
    ]
   }
  ]
 },
 {
  "name": "gcs_url",
  "type": "STRING",
  "mode": "NULLABLE"
 },
 {
  "name": "timestamp",
  "type": "TIMESTAMP",
  "mode": "NULLABLE"
 }
]
|
||||||||||||||||||
| In cases of non-empty tables |
Overwrite We'll overwrite the transcription results each time we execute the Flow. If you'd prefer to add new results to the table without overwriting previous results, select Append instead. |
||||||||||||||||||
| Execute query (BigQuery) |
GCP service account | If you have more than one GCP service account, select the account you want to use with this BLOCK in this property. | |||||||||||||||||
| SQL syntax | Legacy SQL | ||||||||||||||||||
| Query |
SELECT
  results.alternatives.transcript as transcript
FROM
  [blocks_samples.speech_api]
WHERE
  results.alternatives.confidence > 0
ORDER BY
  timestamp desc
LIMIT
  1
info_outline Be sure to replace the 4th row's blocks_samples and speech_api portions with the values you used in the Load to table from variable BLOCK's Destination dataset and Destination table properties. |
||||||||||||||||||
| Dataset for storing results | (Blank) | ||||||||||||||||||
| Table for storing results | (Blank) | ||||||||||||||||||
| Variable for storing results |
(Blank) info_outline If you leave the Dataset for storing results, Table for storing results, and Variable for storing results properties blank, the query's results will be stored into the default BLOCKS variable named _. |
||||||||||||||||||
| Output to log (Basic) |
Variable to output | _ |
Click the play_circle_outline button within the Start of Flow BLOCK's (BLOCK name: Cloud Speech API sample (2)) properties to execute the Flow.
If successful, a log similar to the one shown below will be output to the Logs section.
[
  {
    "transcript": "with an intuitive design and affordable pricing plans blocks makes getting started with machine learning simple now businesses can make data-driven decisions themselves without the need for expensive services and expert help"
  }
]
As with the previous example, the "transcript": "with an intuitive...and expert help" portion contains the results of transcribing the audio file. The results have changed from the first sample since we entered values into the Speech recognition BLOCK's Contextual word/phrase hints property (shown in blue letters above).
Appendix
We'll briefly explain in this section how we recorded the sample audio file. You can use this for reference to test things with your own audio data.
There are built-in applications in Windows and macOS (OS X) that you can use to record audio. However, since these do not record in a format supported by the Speech recognition BLOCK, you cannot use these files right away. You will need to install a separate application to convert audio files into a format supported by the Speech recognition BLOCK.
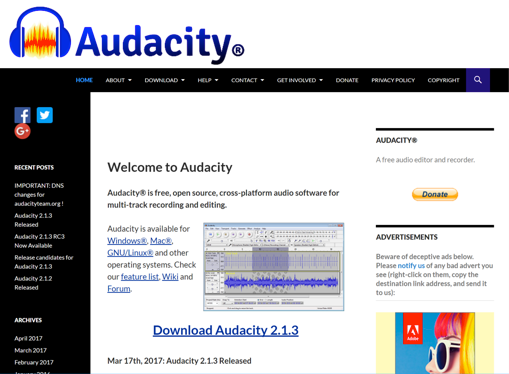
We will introduce how to install the program Audacity open_in_new and use it to record audio. Audacity is an open-source program for recording and editing audio that can output files in the FLAC format supported by the Speech recognition BLOCK.
Instructions for installing and using Audacity to record data will be explained in the following order:
Installing Audacity
For Windows 10 users
- Open the Audacity open_in_new website.
- Click the Download Audacity 2.1.3 link.
info_outline 2.1.3 refers to the Audacity version number. This guide was written on 2017/6/1, and as such the version number may vary. If so, please download and use the latest version of Audacity.
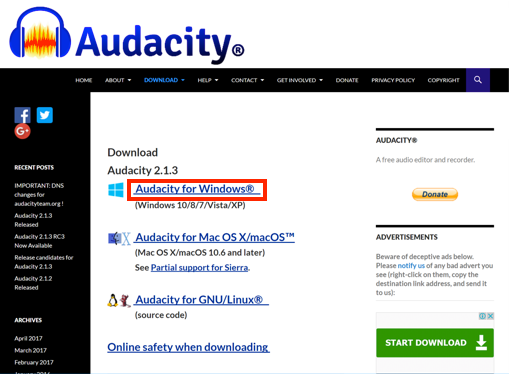
- This will open the download page. Click the Audacity for Windows link.
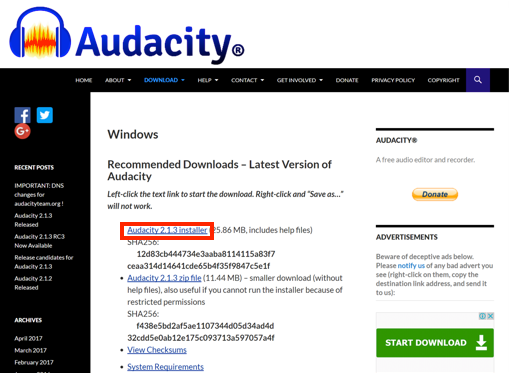
- Click the Audacity 2.1.3 installer link within the Audacity Windows version download page.
- Open the audacity-win-2.1.3.exe file once it has downloaded.
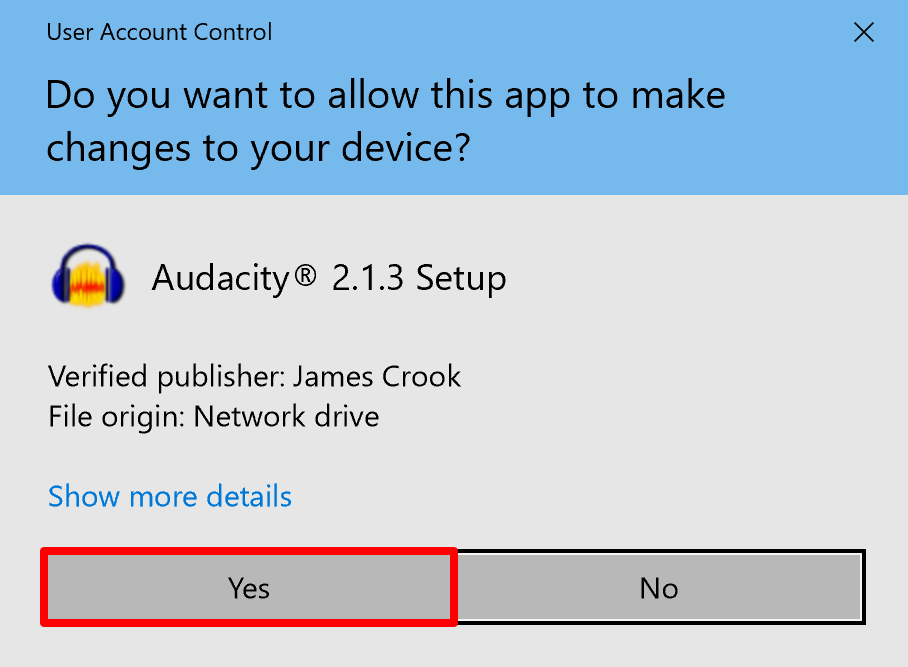
- You will be asked for permission to install Audacity. Click the Yes button.
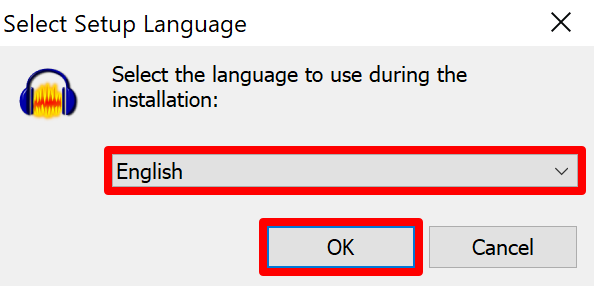
- During the installation, select your preferred language and click the OK button.
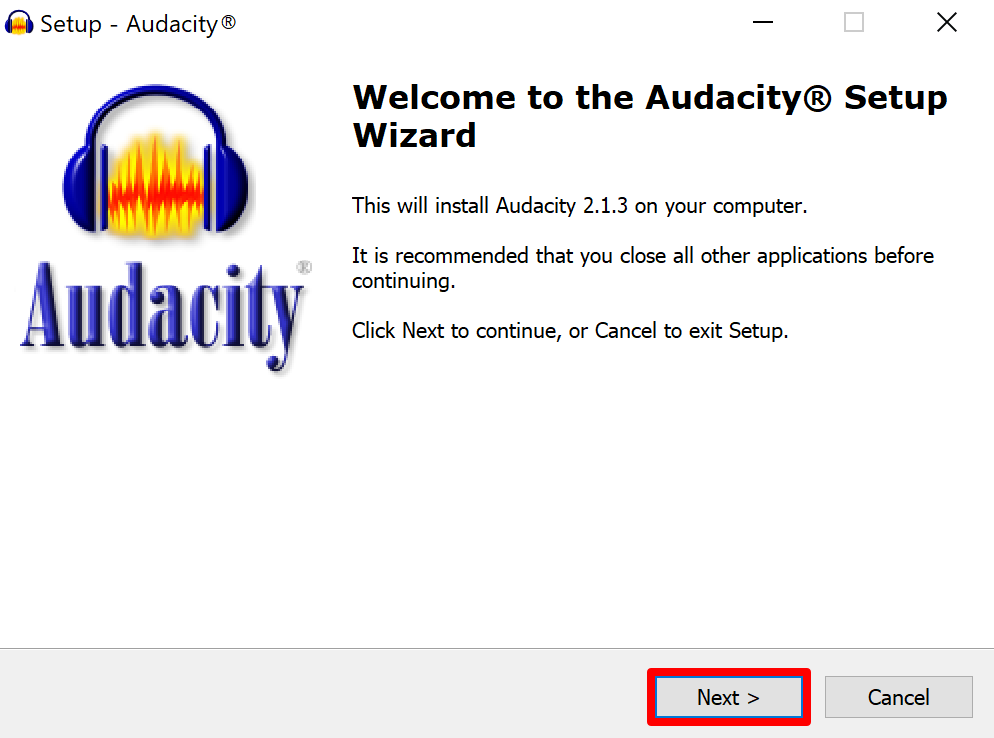
- The Audacity setup wizard welcome screen will be shown. Click the Next > button.
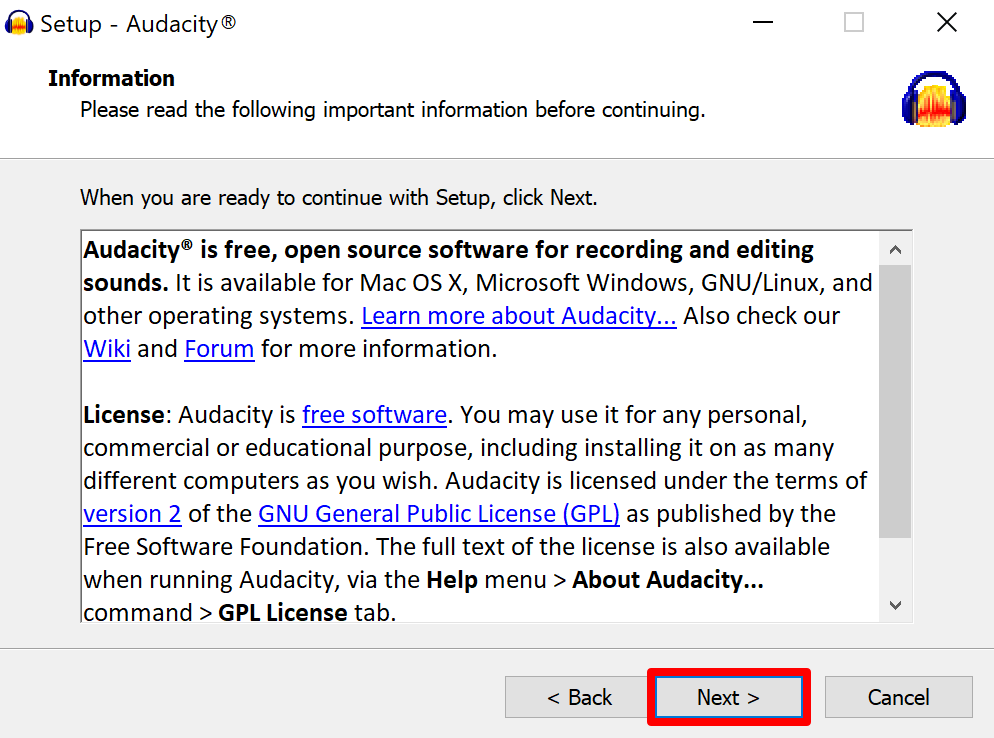
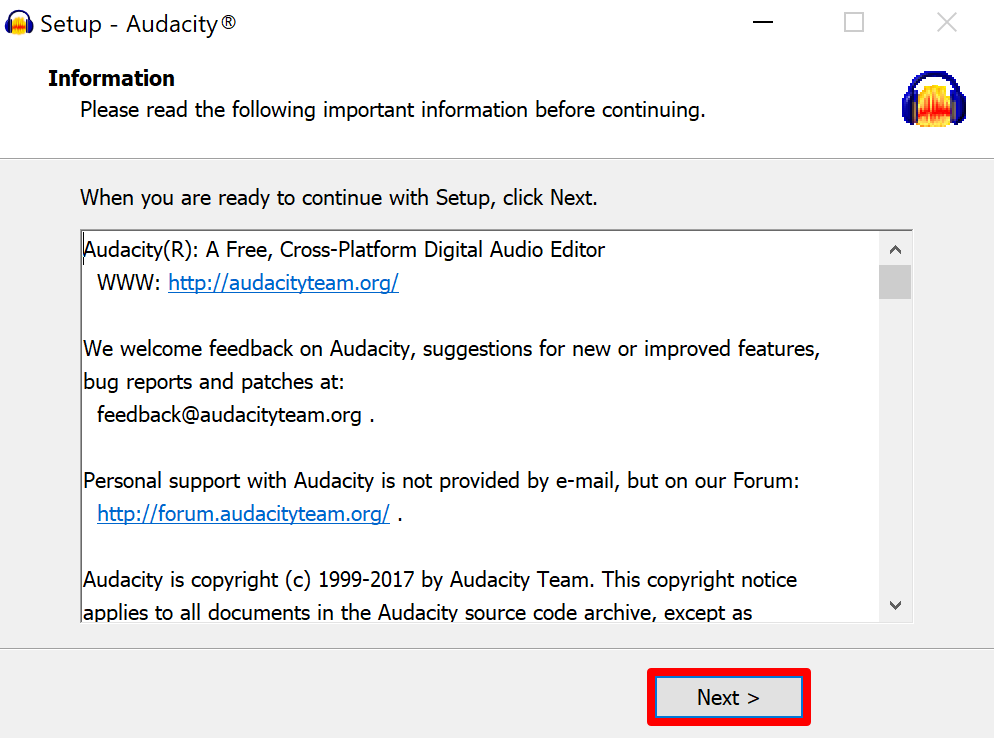
- A screen with important information about Audacity will be shown. Click the Next > button.
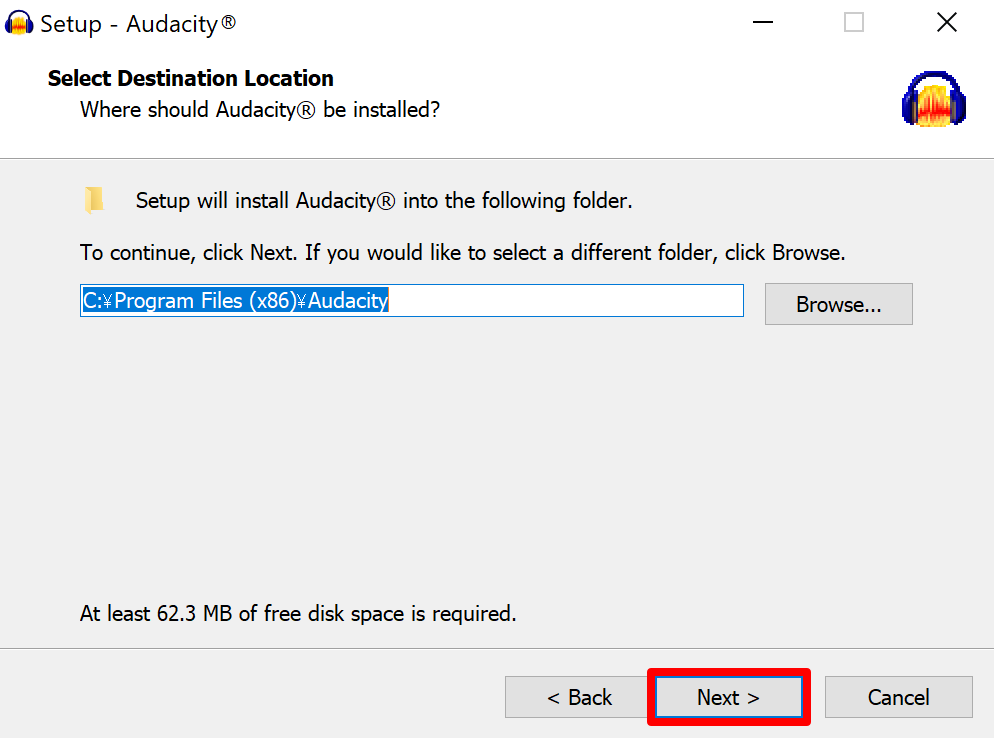
- Select the folder Audacity will be installed to and click the Next > button.
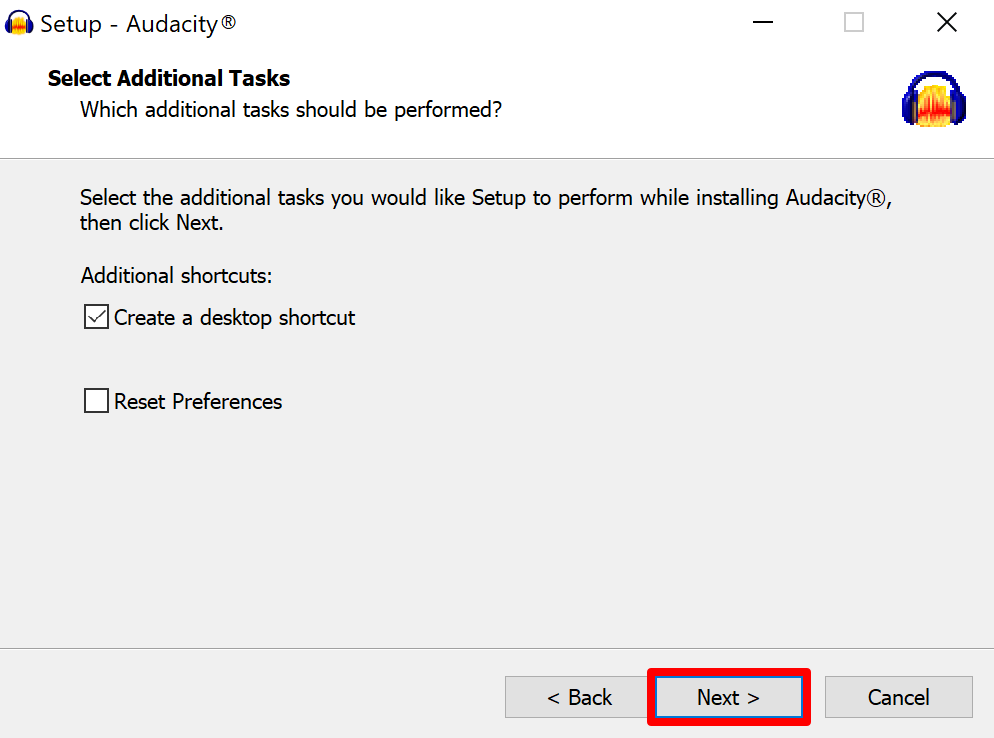
- The Select Additional Tasks screen will be shown. Choose whether or not to create a desktop shortcut and click the Next > button.
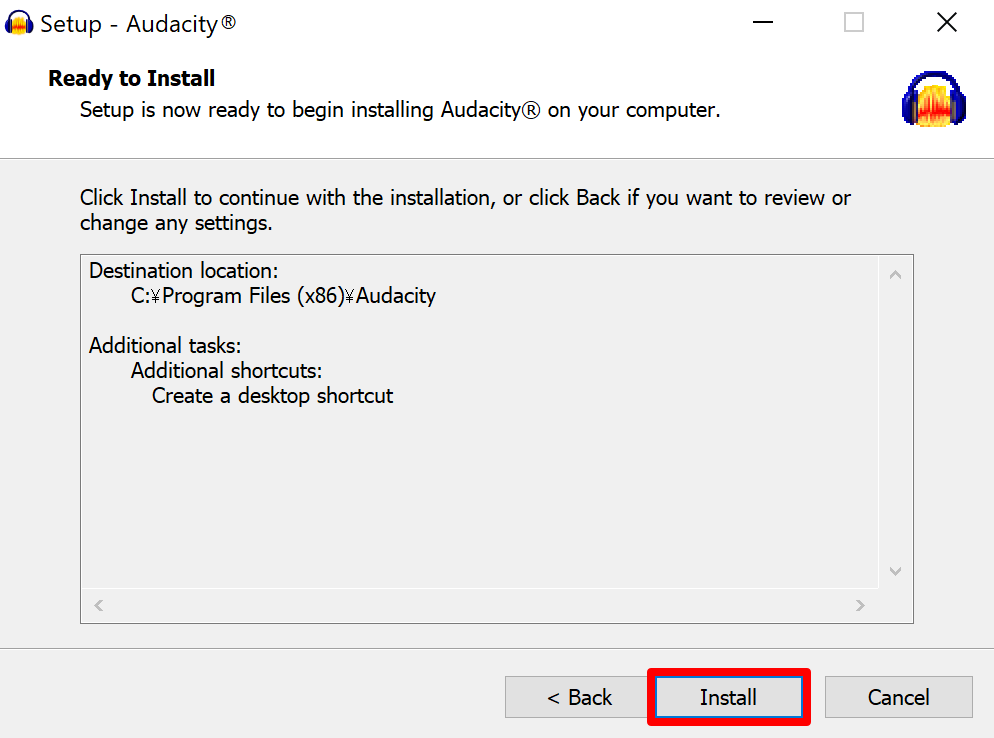
- The Ready to Install screen will be shown. Click the Install button to start installing Audacity.
- A page with important information will be displayed once Audacity finishes installing. Click the Next > button.
- The Completing the Audacity Setup Wizard screen will be displayed. Click the Finish button.
By default, the Launch Audacity option is selected, so clicking Finish will also launch Audacity.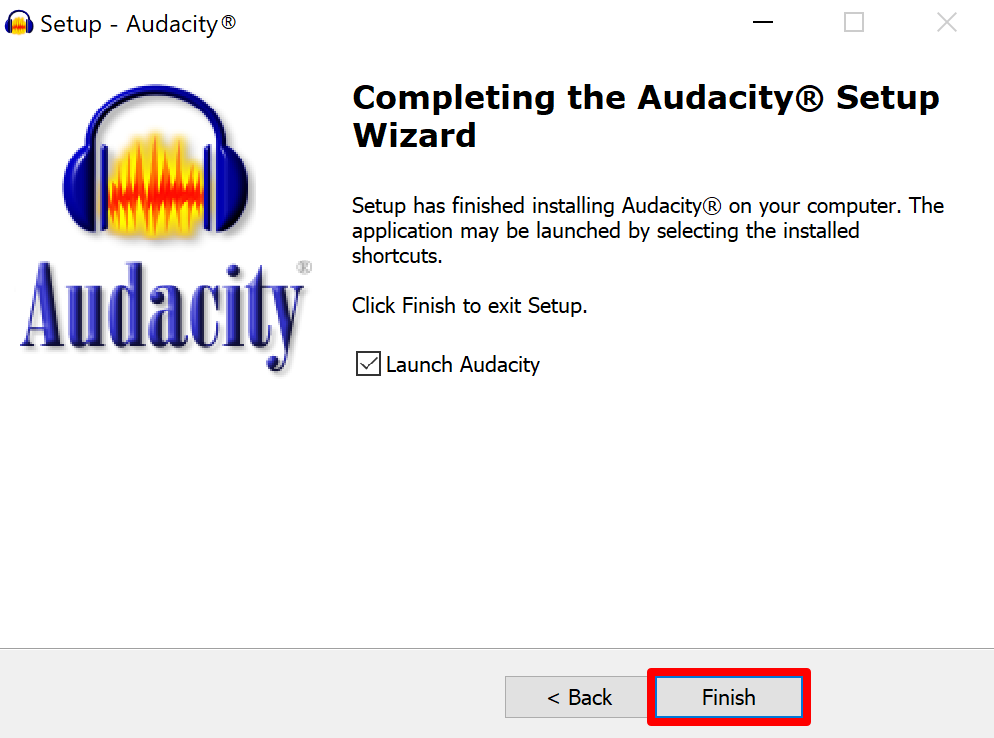
For macOS/OS X users
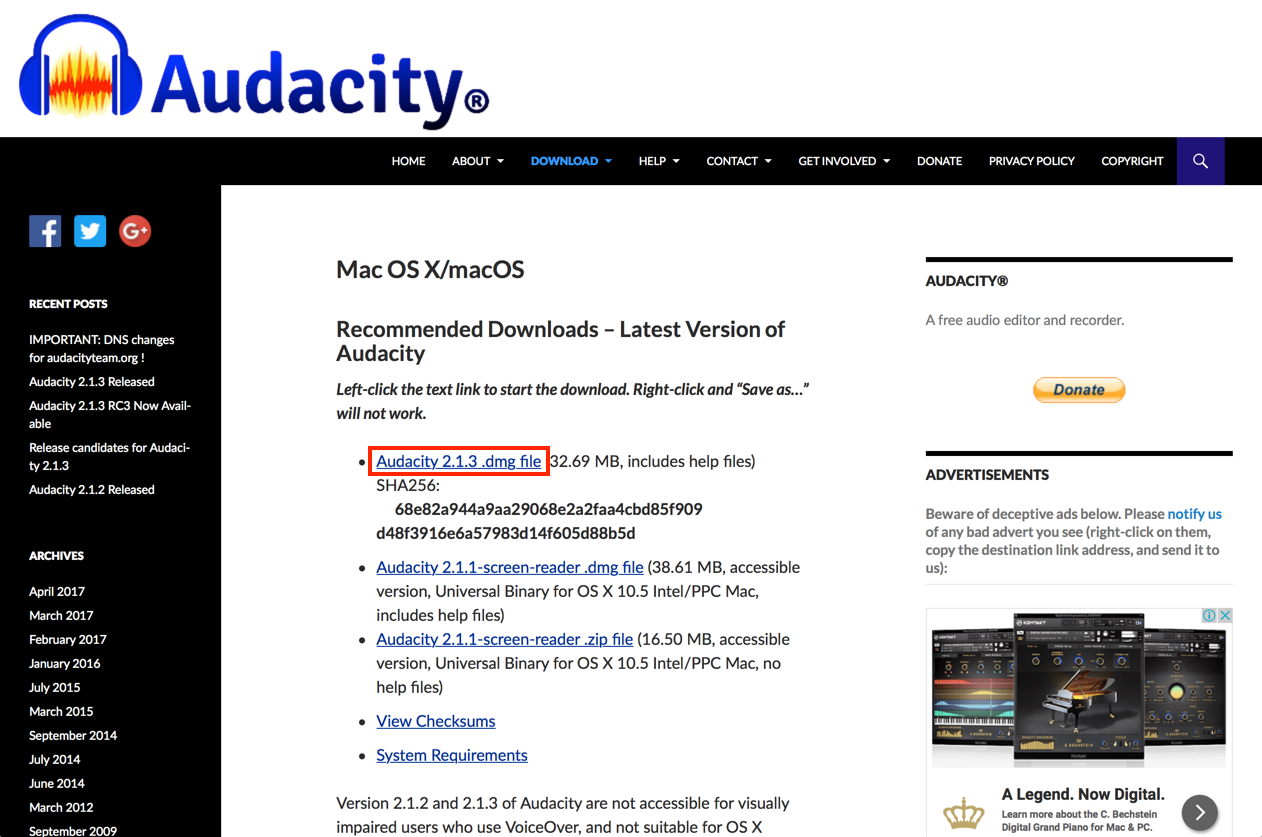
- Open the Audacity open_in_new webpage.
- Click the Download Audacity 2.1.3 link.
info_outline 2.1.3 refers to the Audacity version number. This guide was written on 2017/6/1, and as such the version number may vary. If so, please download and use the latest version of Audacity.
- This will open the download page. Click the Audacity for Mac OS X/macOS link.

- Click the Audacity 2.1.3 .dmg file link within the Mac version download page.
- Once downloaded, double click the audacity-macos-2.1.3.dmg file from the Finder to open it.
- Drag and drop the Audacity icon into the Applications folder.
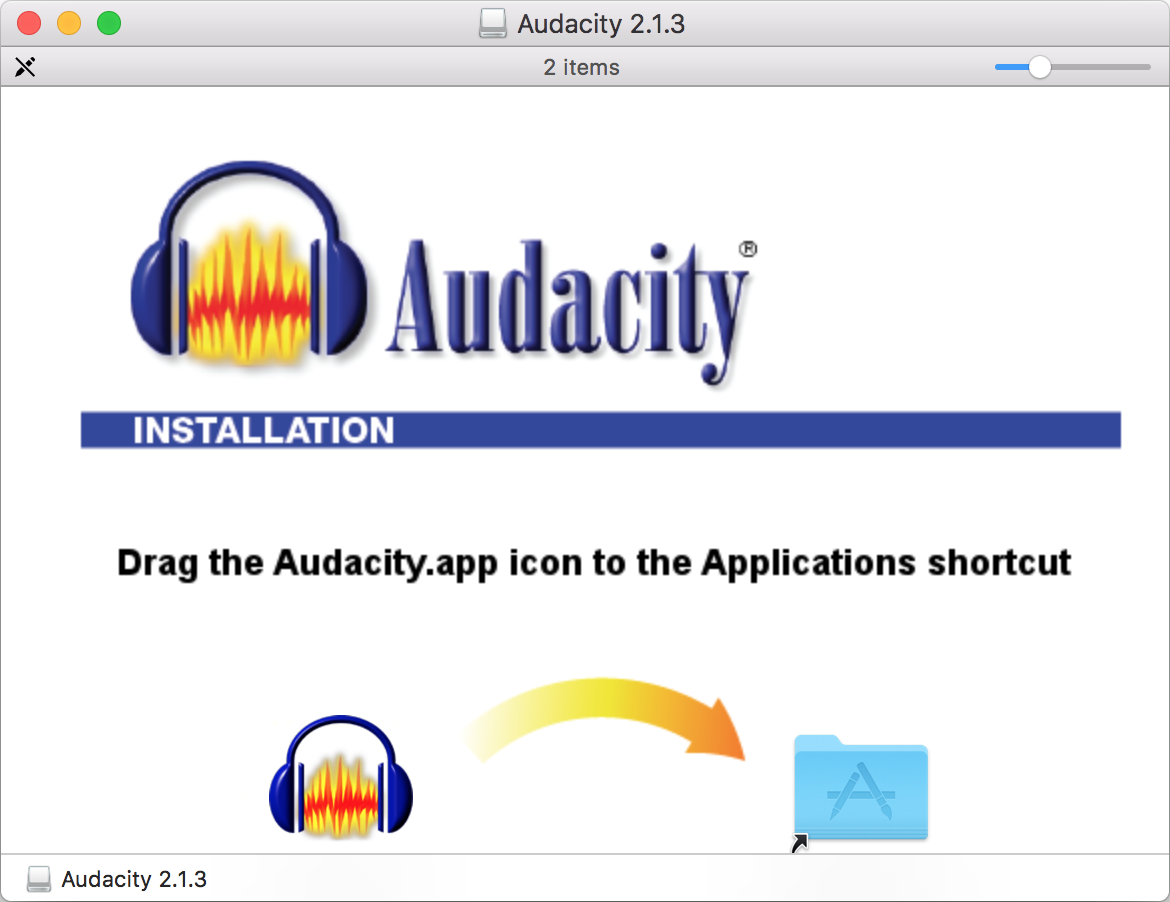
- Close the above window.
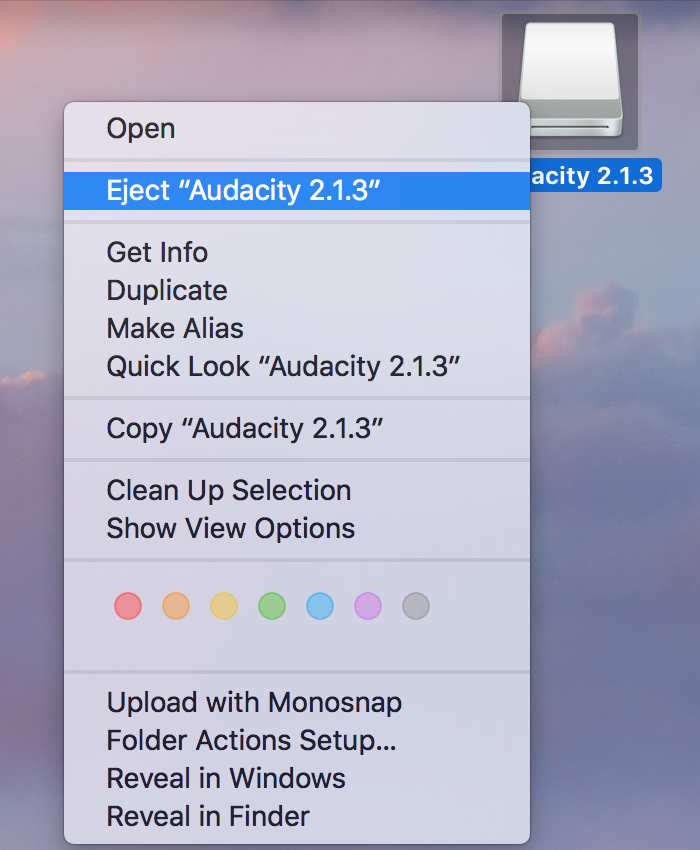
- Right click the Audacity 2.1.3 icon on the desktop and select Eject Audacity 2.1.3. This completes the installation process.
Recording audio with Audacity
The Audacity screen is divided into various sections. The sections required for recording audio and their names are shown in the image below.
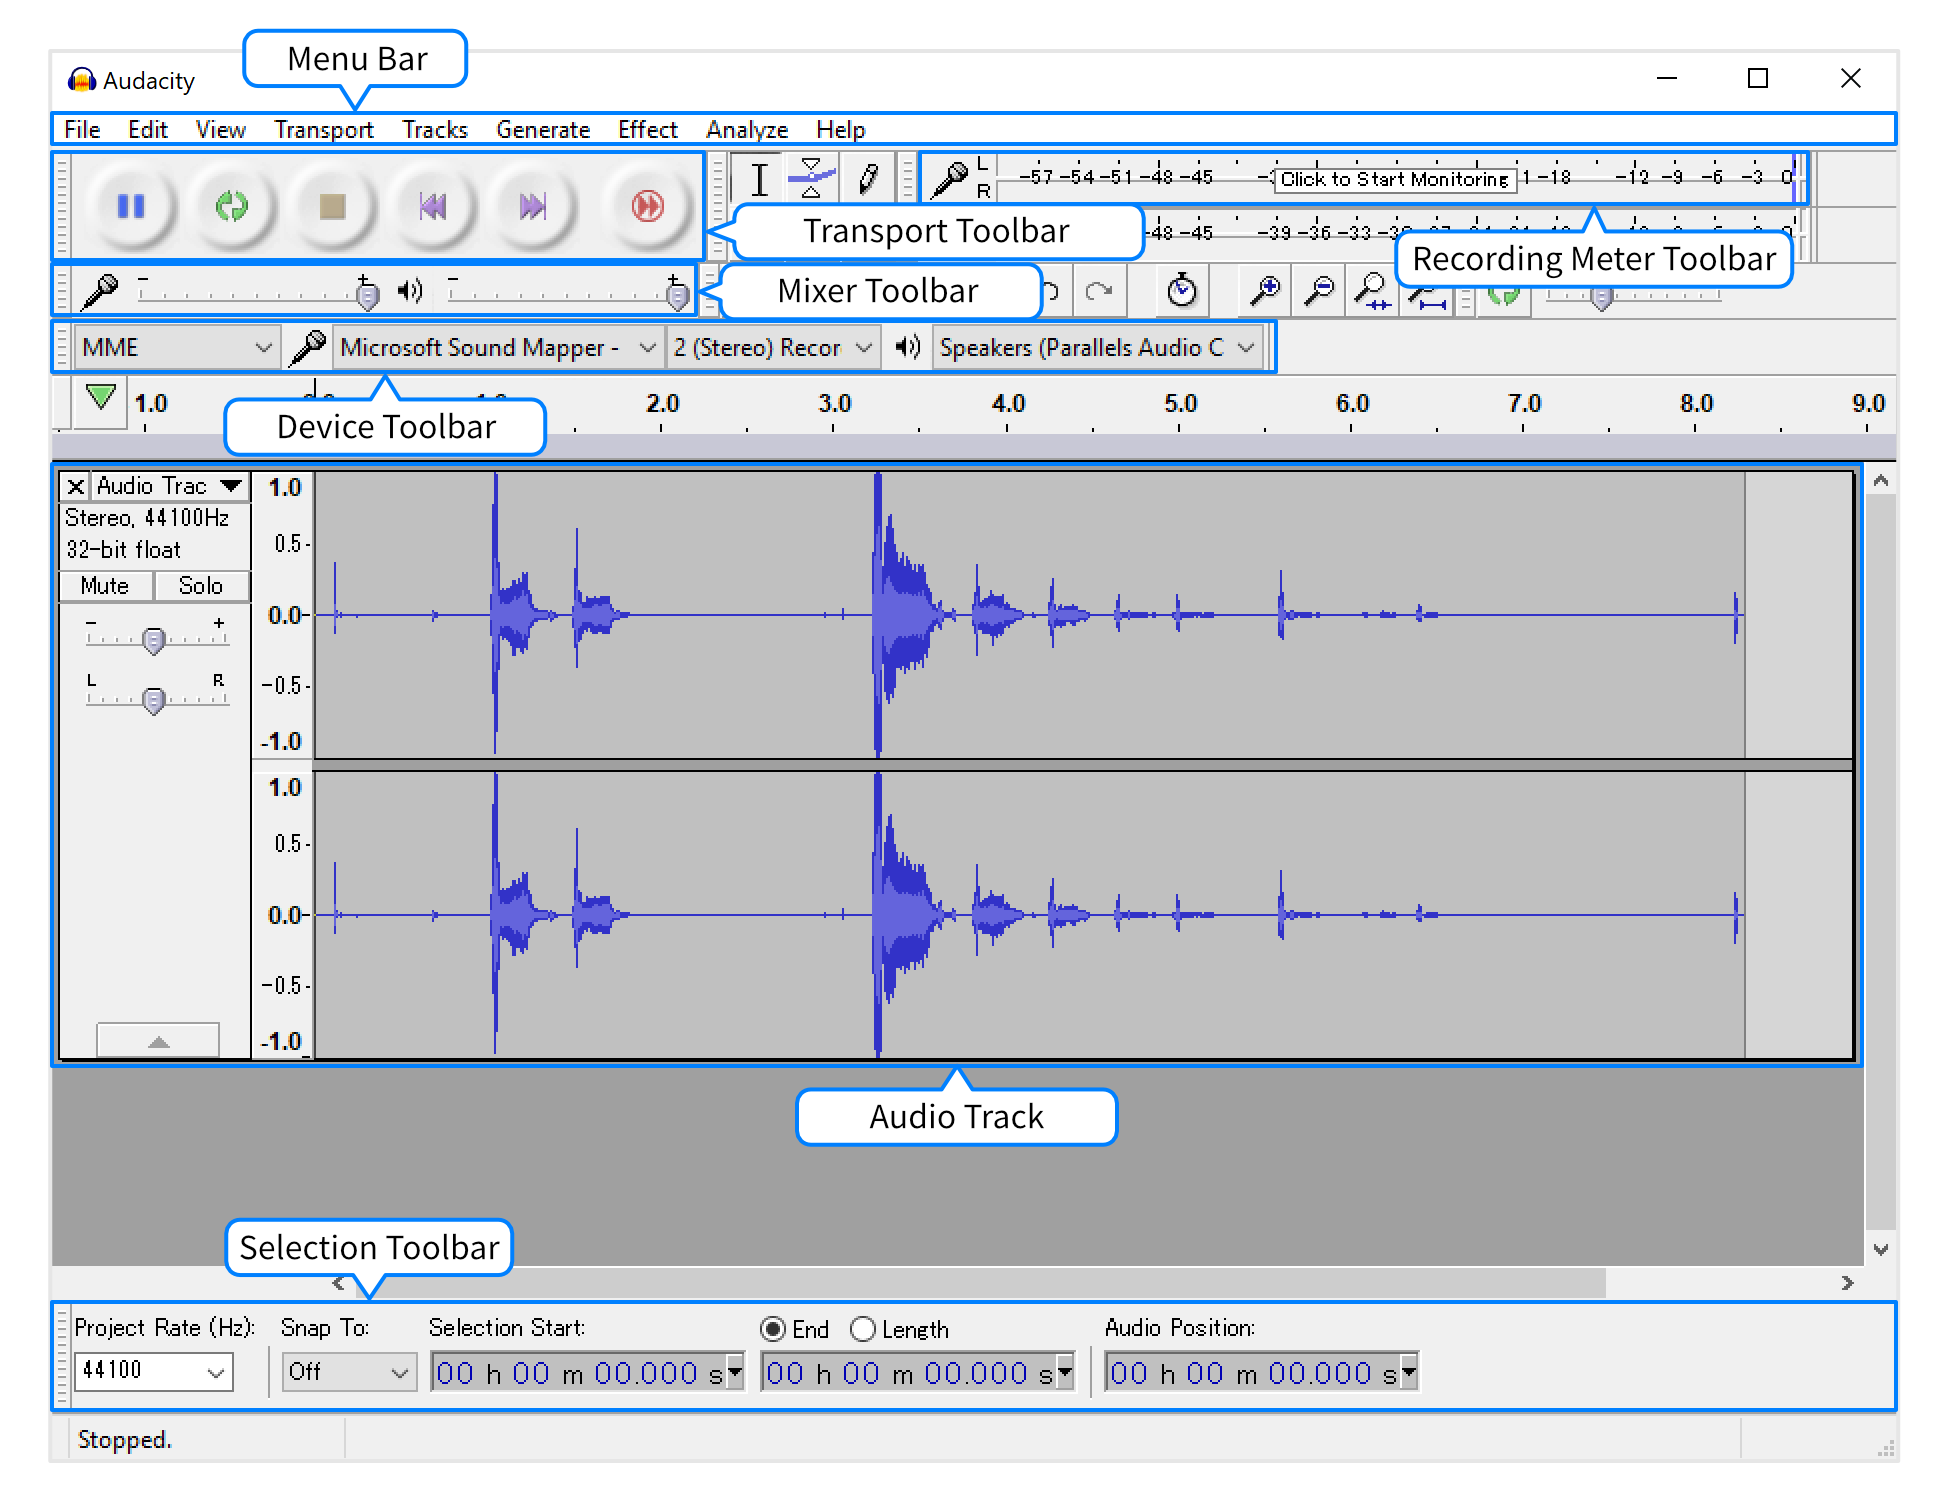
info_outline For macOS/OS X users, the menu bar will be at the top of the screen, rather than within the Audacity window.
The process for recording audio is as follows:
-
Set the “Recording Device” and “Recording Channel” from the Device Toolbar.

- Under “Recording Device”, choose the device you will use to make the recording.
- Under “Recording Channel”, select 1 (Mono) Recording Channel.
-
From the Selection Toolbar in the Lower Toolbar dock area, set the Project Rate (Hz) to
16000as recommended for the Cloud Speech API.
-
With that, you are ready to record the audio. However, we will first check the audio levels (without recording) by clicking the Recording Meter Toolbar.

-
Adjust the recording level using the Recording Slider portion of the Mixer Toolbar.

-
After adjusting the recording level, click the Recording Meter Toolbar again to check the recording level. Repeat these steps as needed.
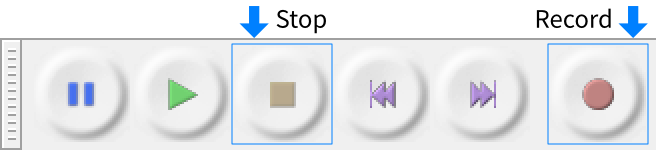
- Click the Record button from the Transport Toolbar to begin recording. Press the Stop button to stop the recording.
-
To export the audio as a FLAC format file, open the File menu and select Export Audio.
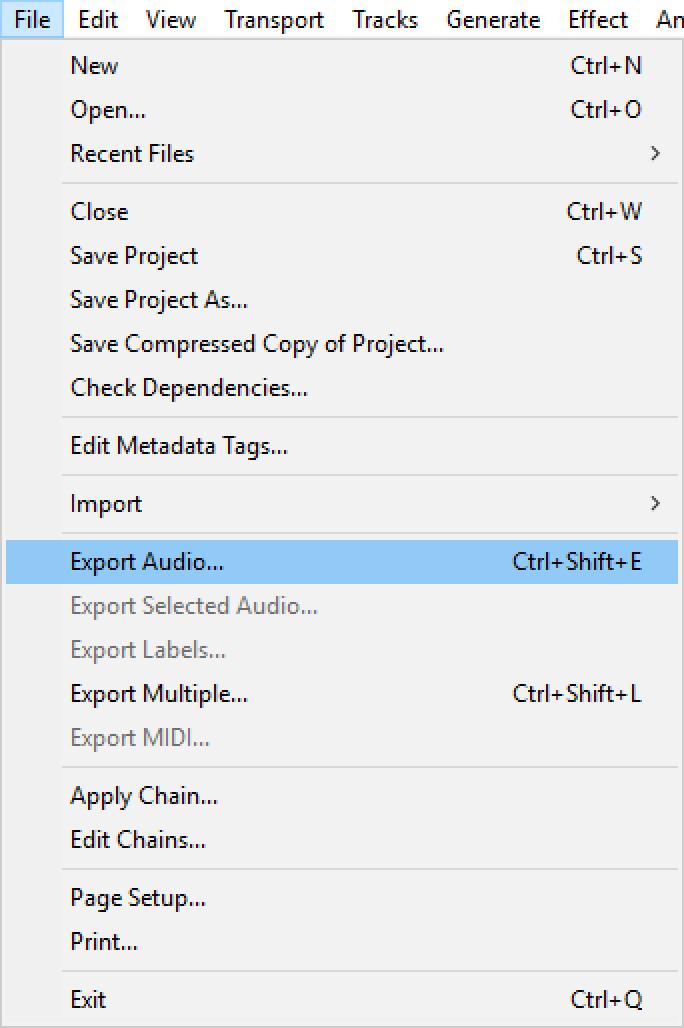
-
From the Export Audio window, set each required item and click the Save button.
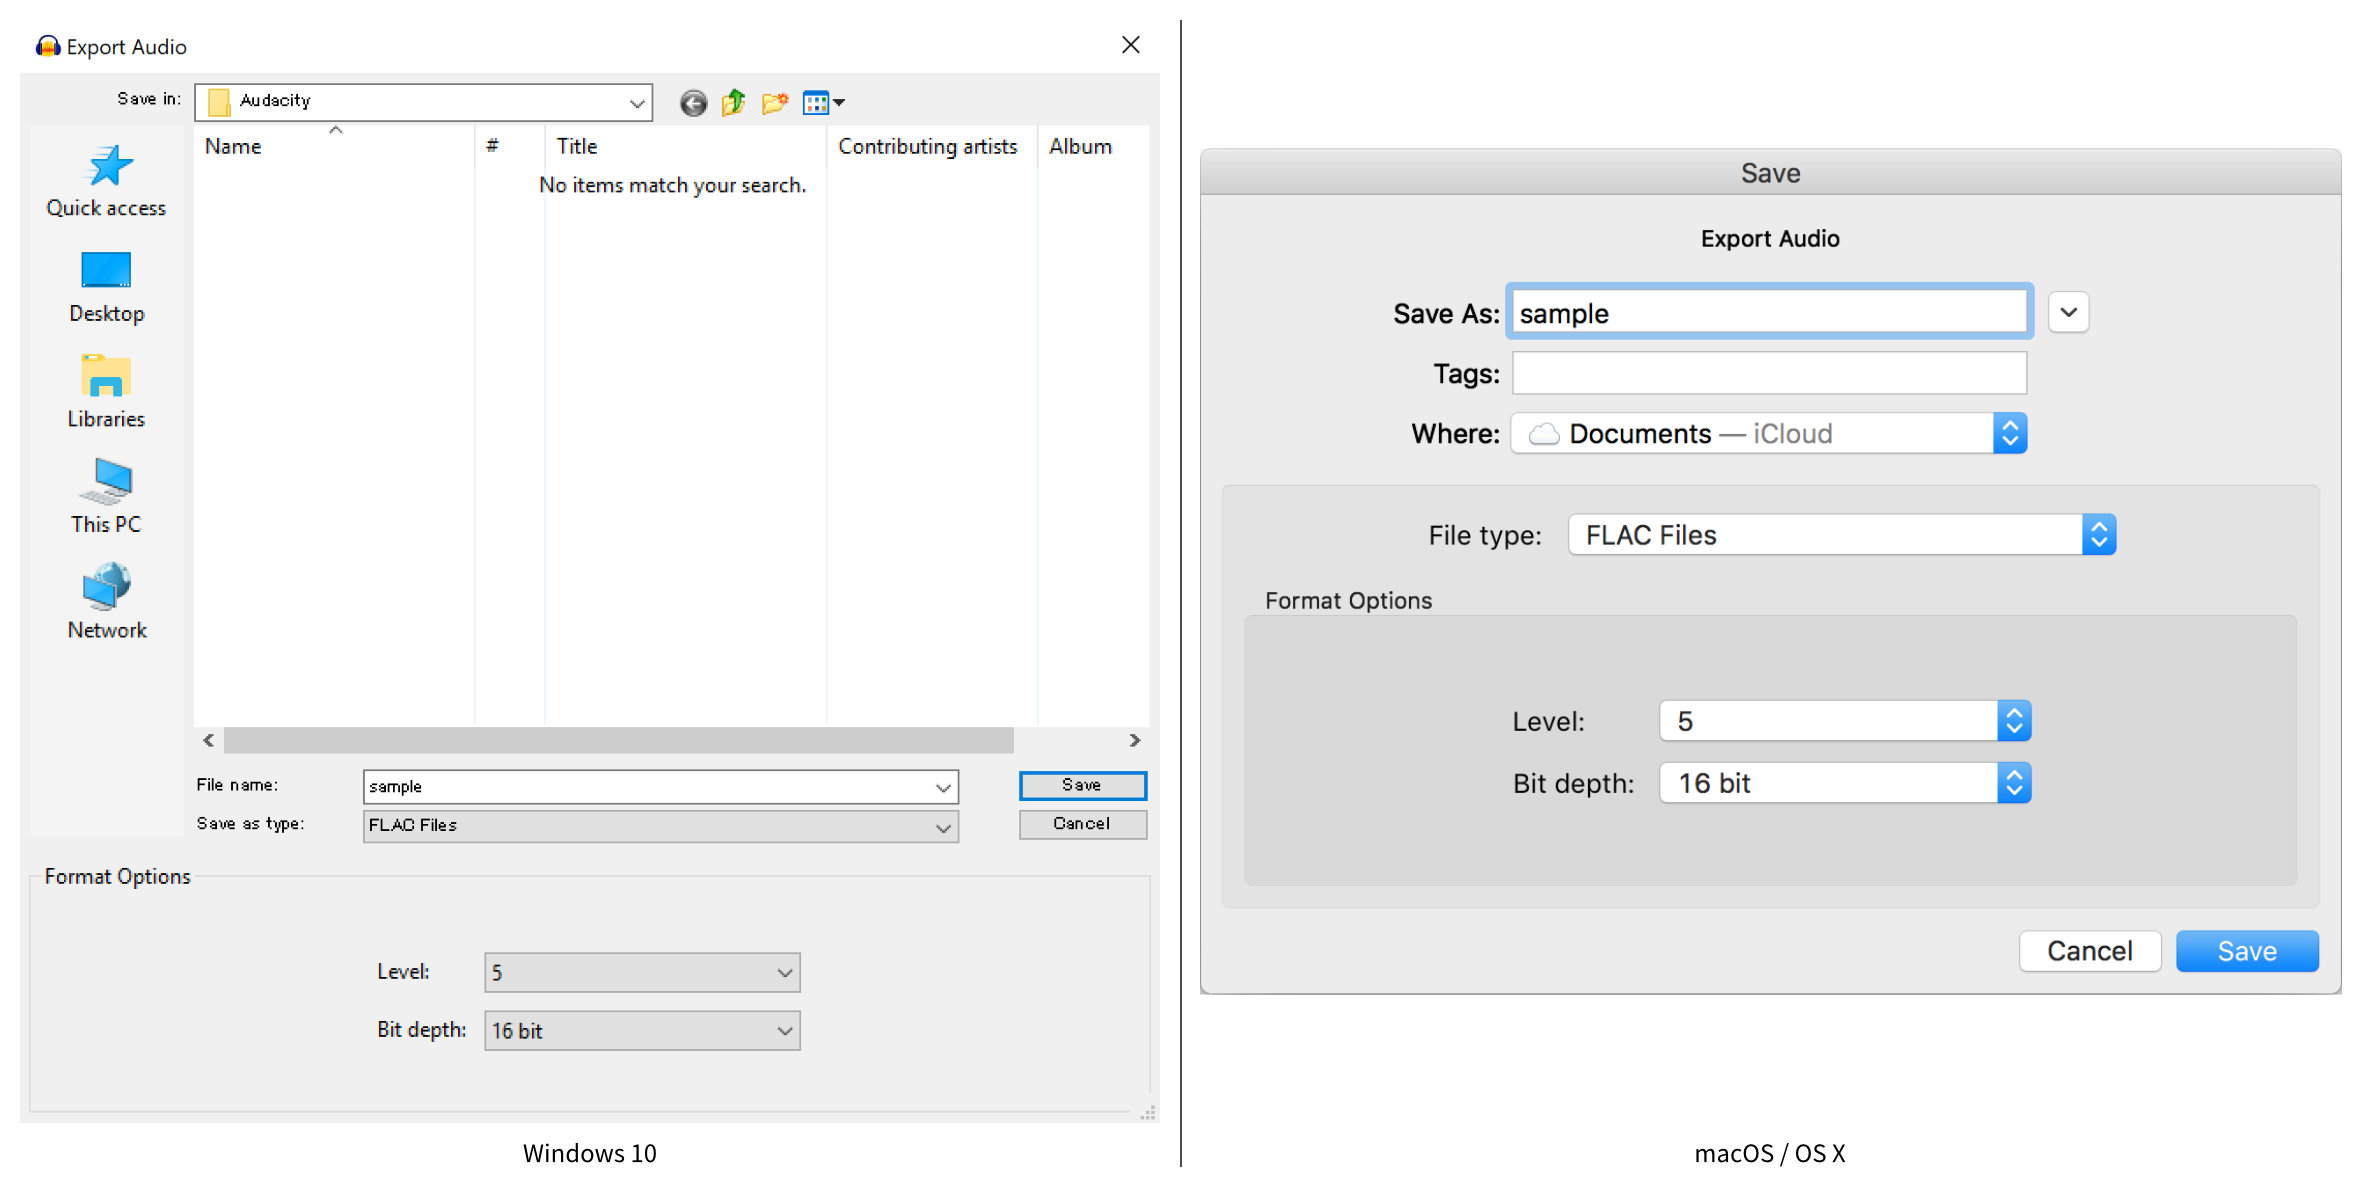
Refer to the following list for each item (macOS/OS X terms shown in parentheses):
- File name (Save as): Set the file name.
- Save in (Where): Set the location where the file will be saved.
- Save as type (File type): Select FLAC Files.
- Level: Set the compression level between 0 and 8. The default level is 5. 0 refers to no compression, and the compression rate increases with each higher number.
- Bit depth: Select 16 bit.