Creating a Box service account
Creating a Box service account
You must have a Box service account to use Boxopen_in_new from BLOCKS.
A Box service account is created automatically when you make a Box app from the Box Dev Console.
The following steps explain how to create a Box app (steps 1–3) and register your Box service account into BLOCKS (step 4).
- Prepare a Box account
- Create a Box app from the Box Dev Console
- Authorize the Box app from the Box Admin Console
- Register the Box service account into BLOCKS
1. Prepare a Box account
You will need to have a Box account with two-factor verification enabled in order to use Box from BLOCKS.
info_outline If you don't have a Box account, create one by clicking Sign Up from https://www.box.com/home open_in_new
Log into https://app.box.com open_in_new. If your account does not have two-factor verification enabled, complete the following:
-
Click your user icon in the upper-right and select Account Settings.
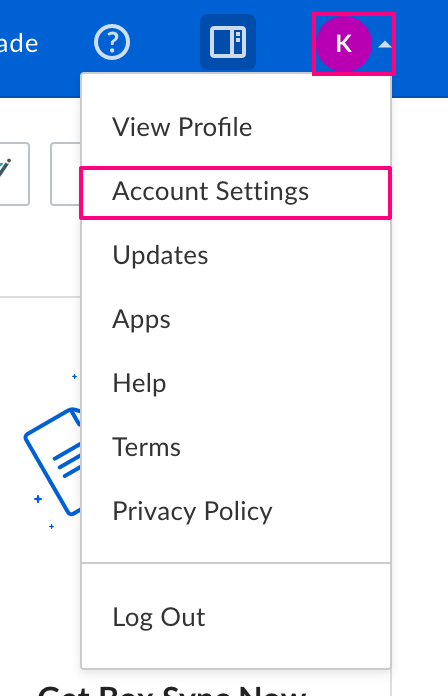
(The user icon varies by user.)
-
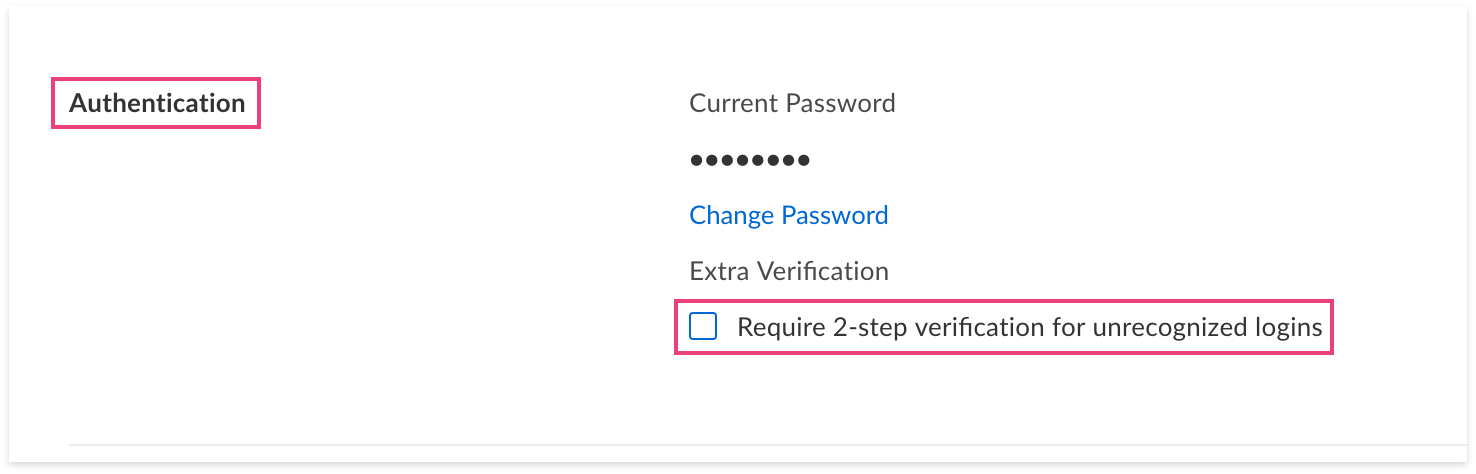
Scroll to the Authentication section and click Require 2-factor verification for unrecognized logins.
-
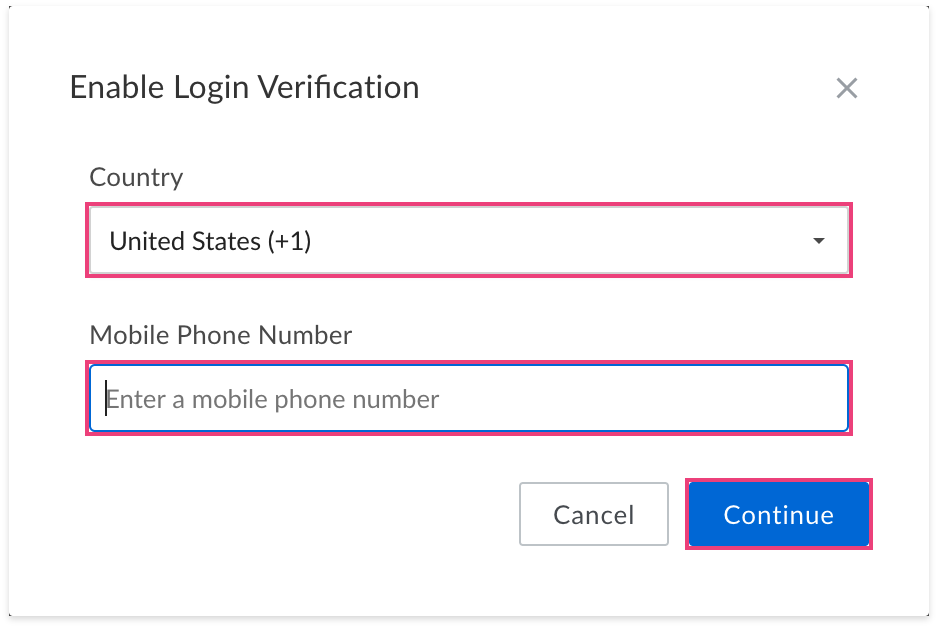
On the Enable Login Verification screen, select your Country, enter your Mobile Phone Number and click Continue.
-
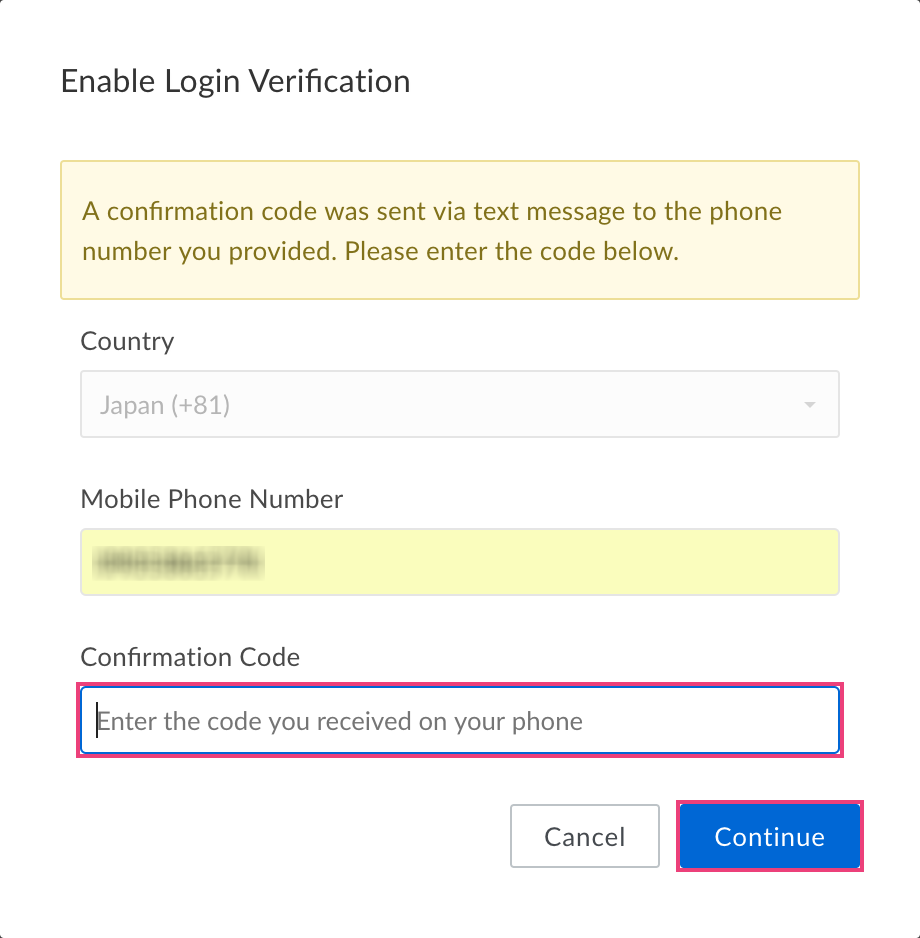
Enter the Box verification code that is sent to your mobile phone number and click Continue.
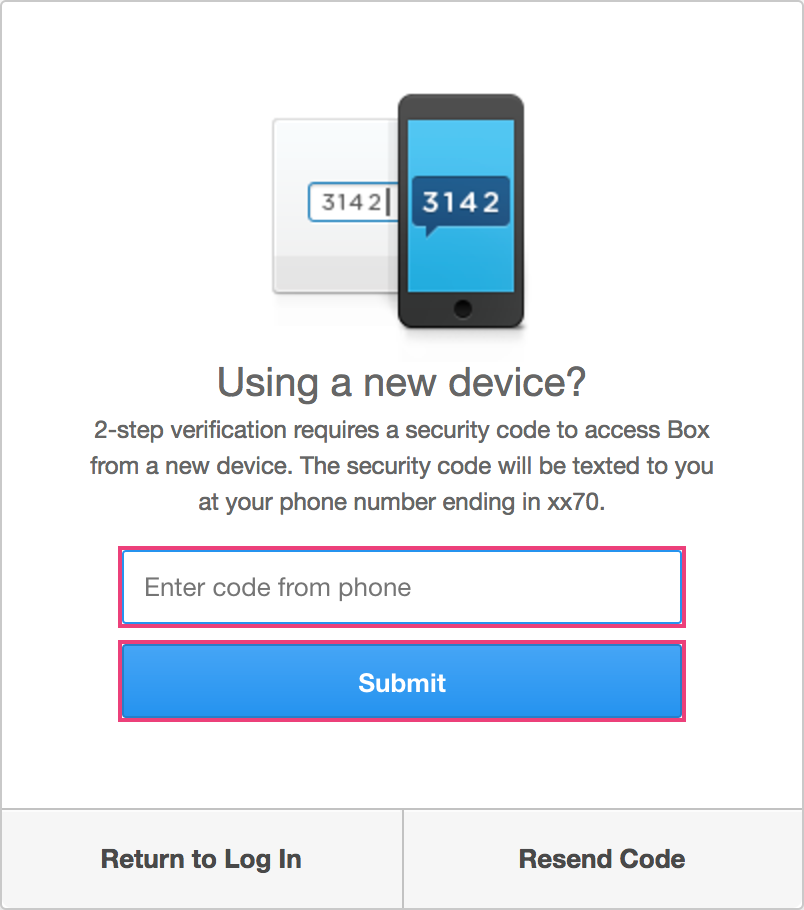
-
Enter the second Box verification code sent to your mobile phone (different from the first code) on the Using a New Device? screen and click Submit.
2. Create a Box app from the Box Dev Console
To create your Box app, do the following:
-
Access https://account.box.com/developers/services open_in_new and log in with your Box account.
-
Click Create New App.
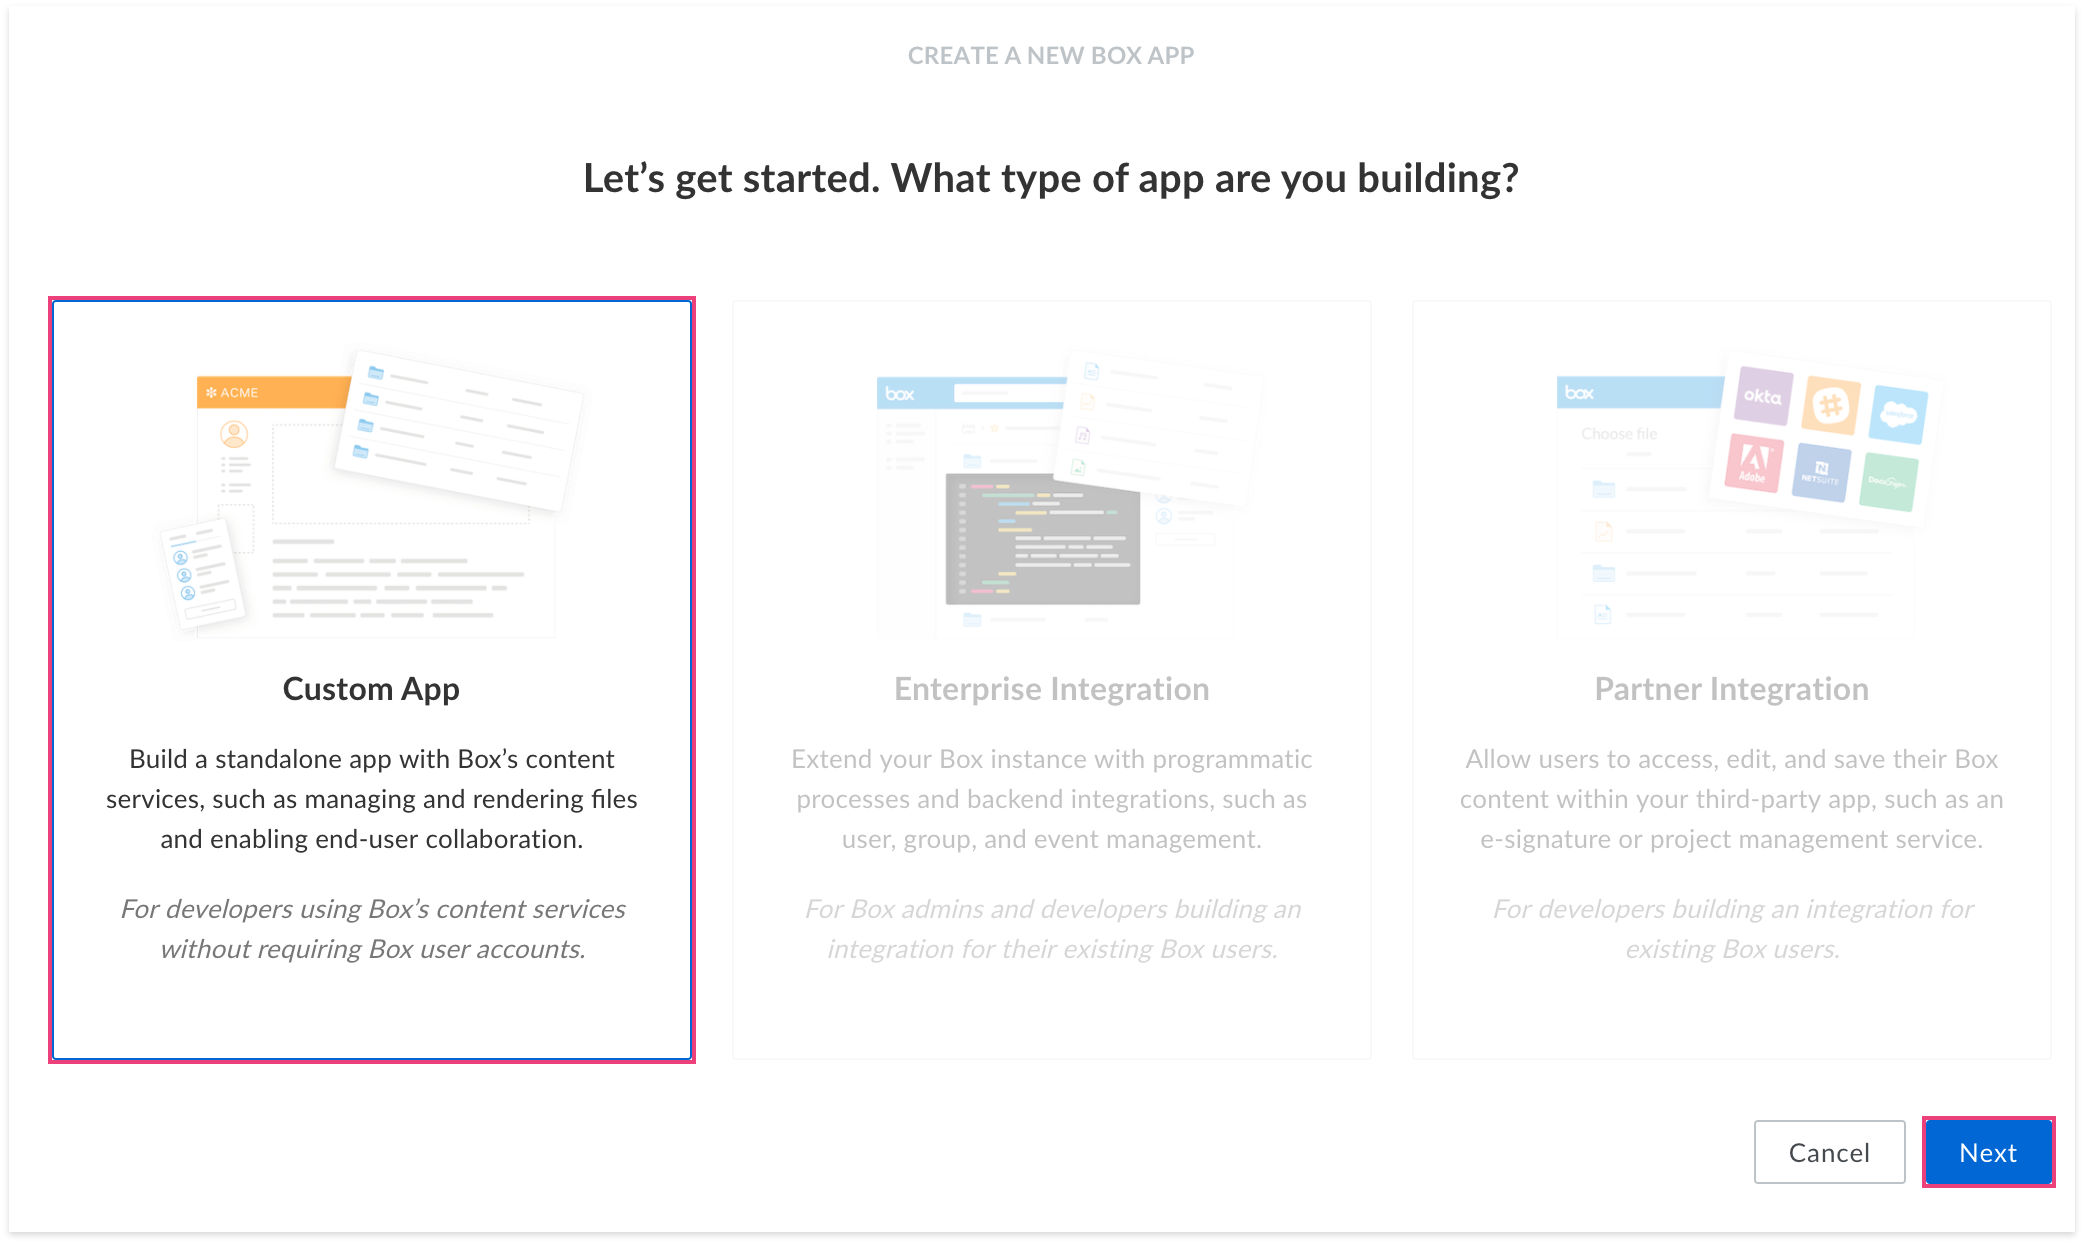
-
On the screen to select the type of app, select Custom App and click Next.
-
On the Authentication Method screen, select OAuth 2.0 with JWT (Server Authentication) and click Next.

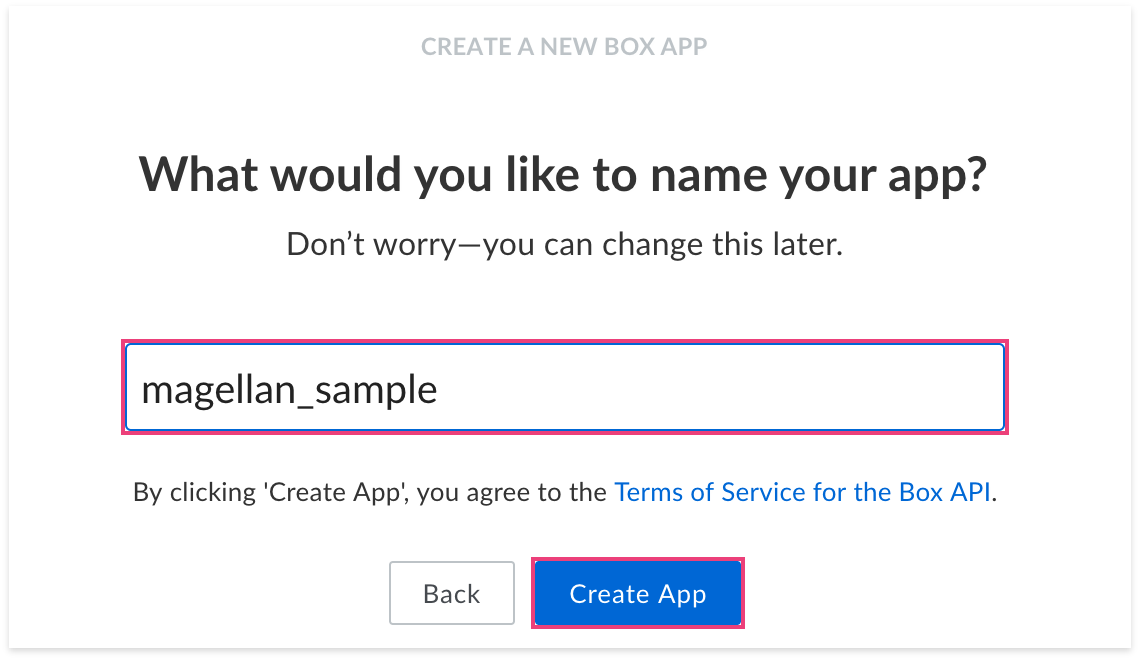
-
Enter a name for your app and click Create App.
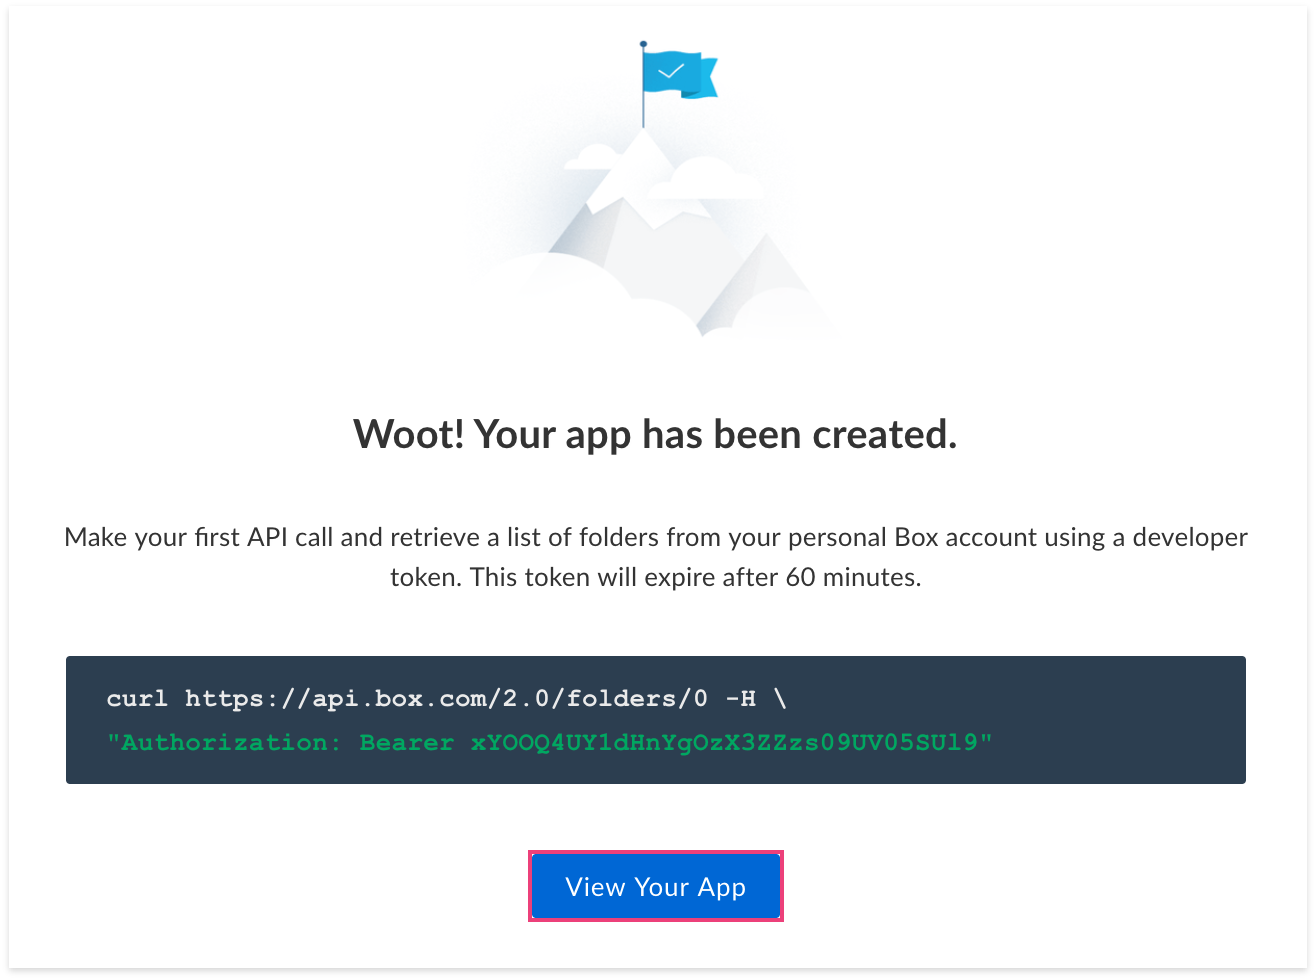
-
You will see a page for using a developer token to access your folder list. We won't use this token, so ignore the directions on the page and click View Your App.
-
You will be taken to the Configuration page for your new app.
-
Scroll to the OAuth 2.0 Credentials section and find your Client ID.
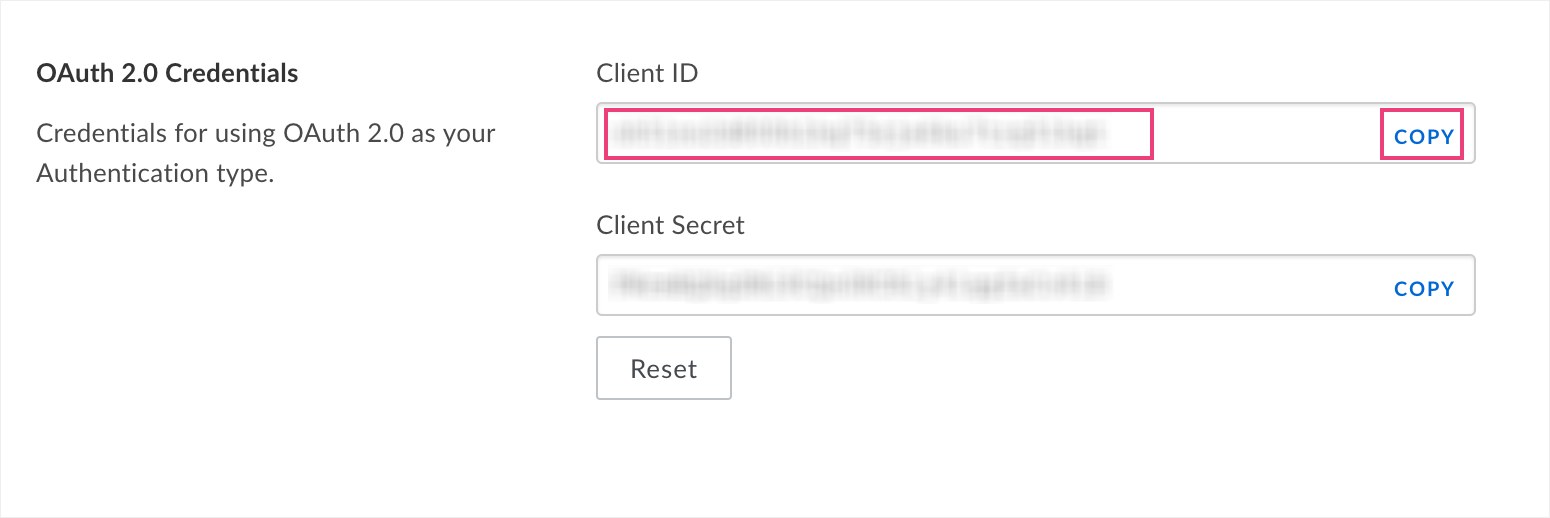
You will use this Client ID to authorize your app on the Admin Console. Click COPY next to the Client ID to copy it to your clipboard.
-
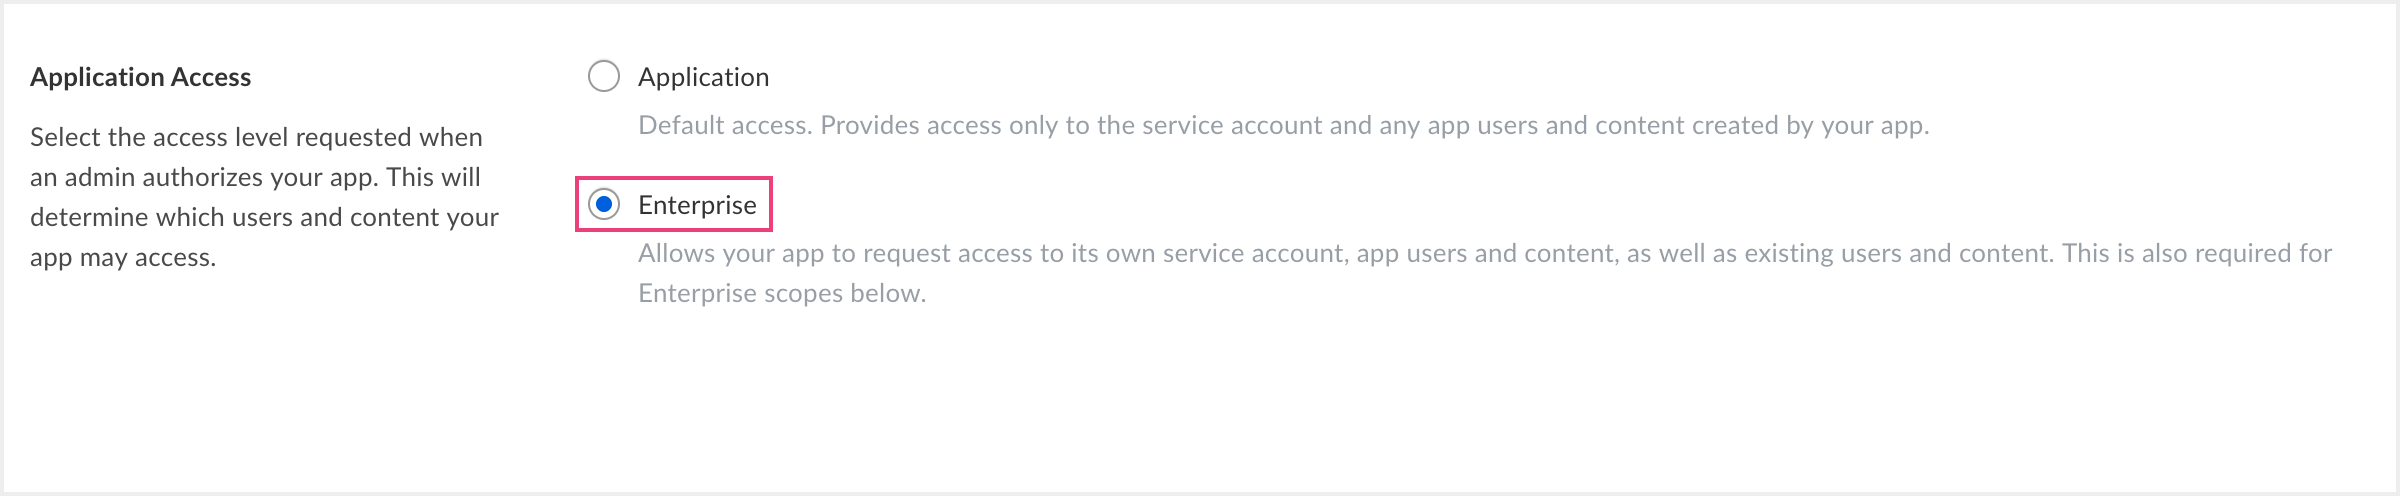
Scroll to the Application Access section and select Enterprise.
-
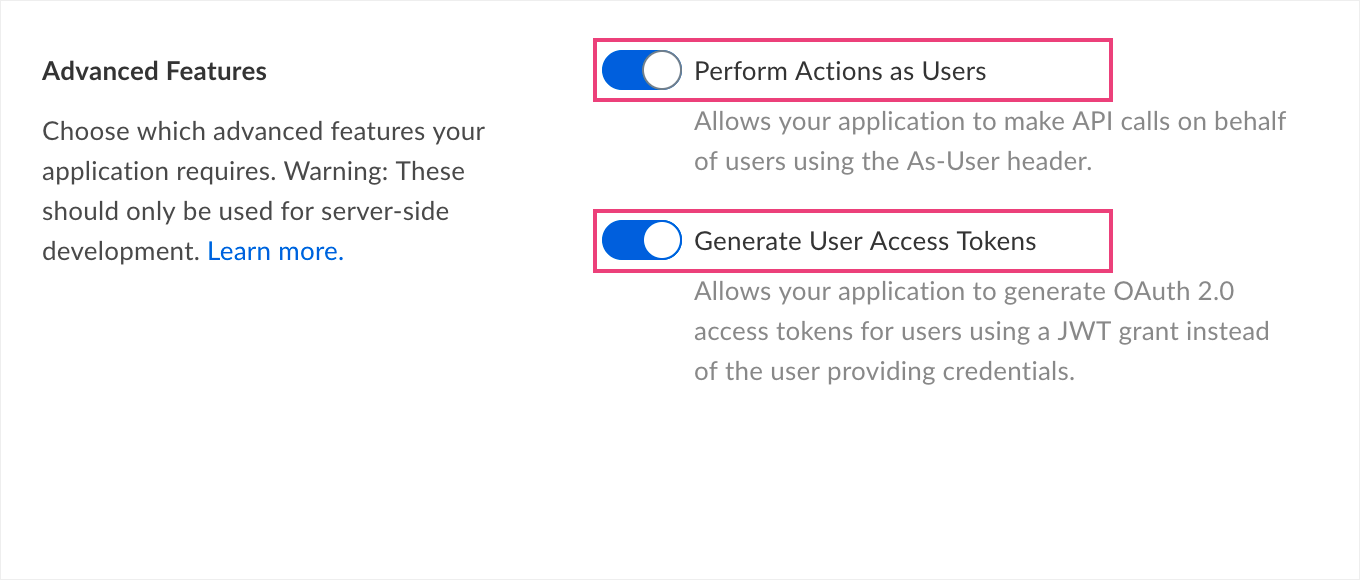
Scroll to the Advanced Features section and turn on Perform Actions as Users and Generate User Access Tokens.
-
Scroll to the Add and Manage Public Keys section, click Generate a Public/Private Keypair, and a file will begin to download.

- You will use this file in BLOCKS. It will not be saved in Box, so save it someplace safe.
- Click OK on the file download screen.
-
Click Save Changes in the upper-right of the page.
3. Authorize the Box app from the Box Admin Console
Do the following to authorize your Box app:
-
Access the Admin Console at https://app.box.com/master open_in_new.
-
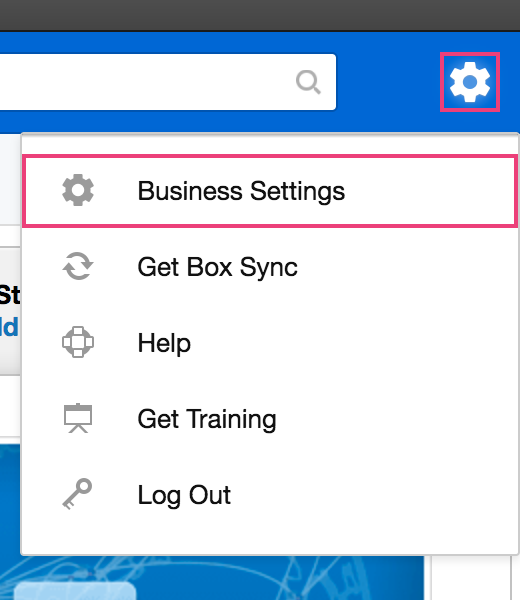
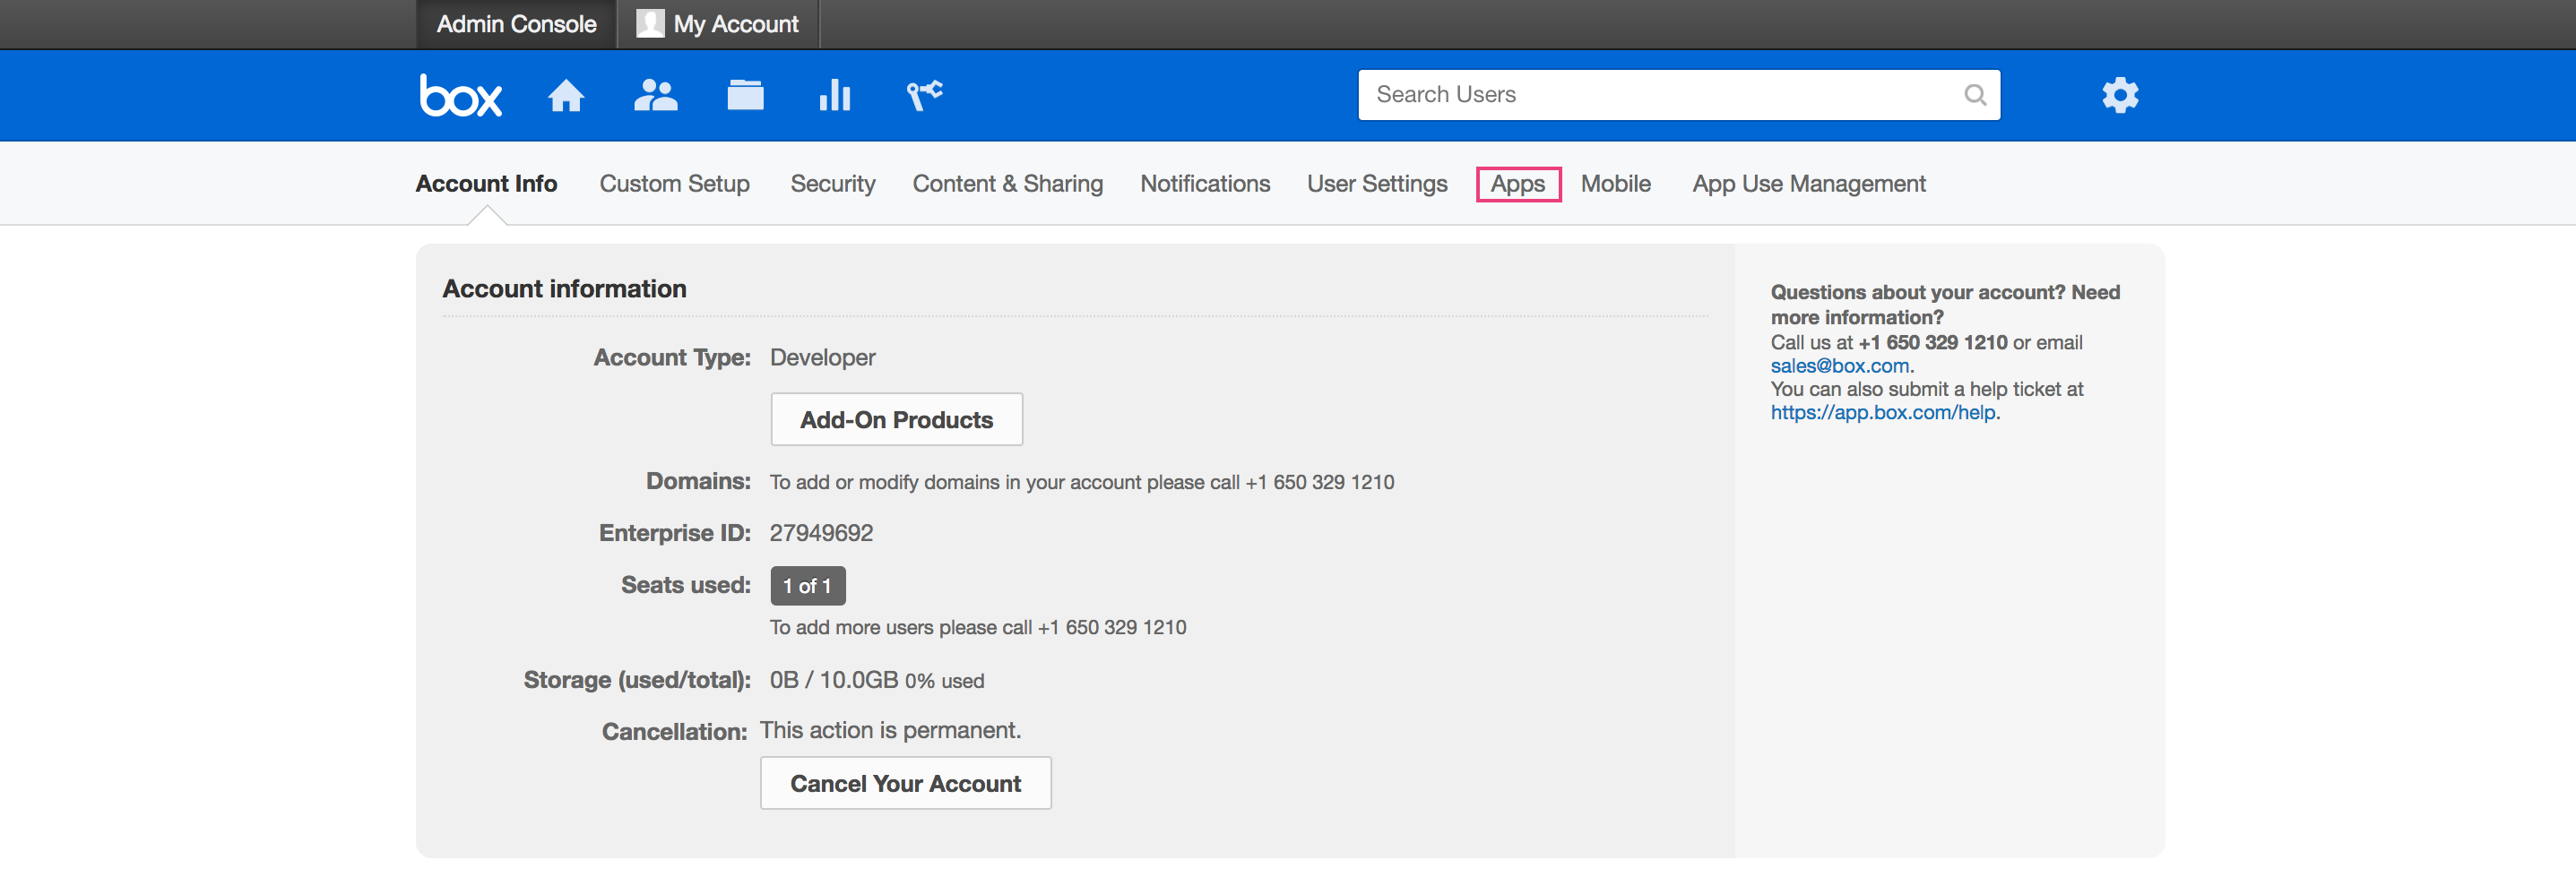
Click the gear icon in the upper-right and select Business Settings.
-
Click the Apps tab.
-
Scroll to Custom Applications and click Authorize New App.

-
On the App Authorization page, enter your app’s Client ID into the API Key field.
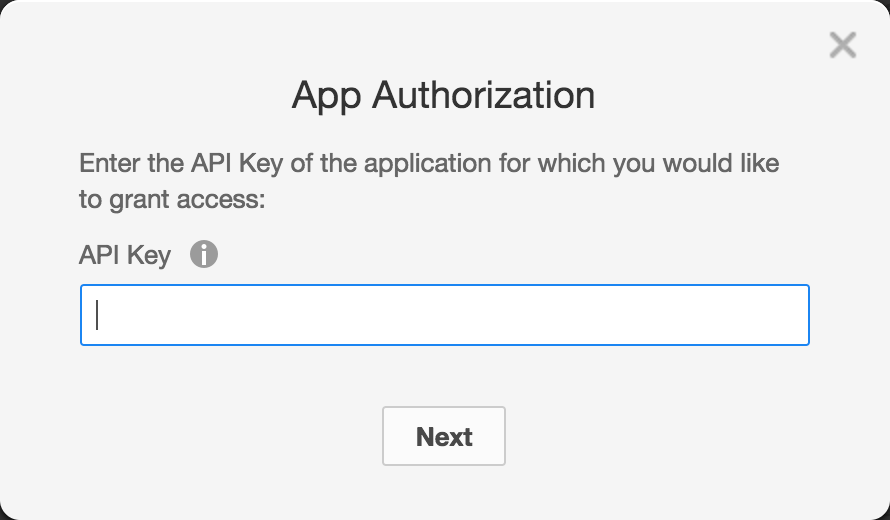
If you copied your Client ID from the Dev Console, simply paste it here.
-
Click Next.
-
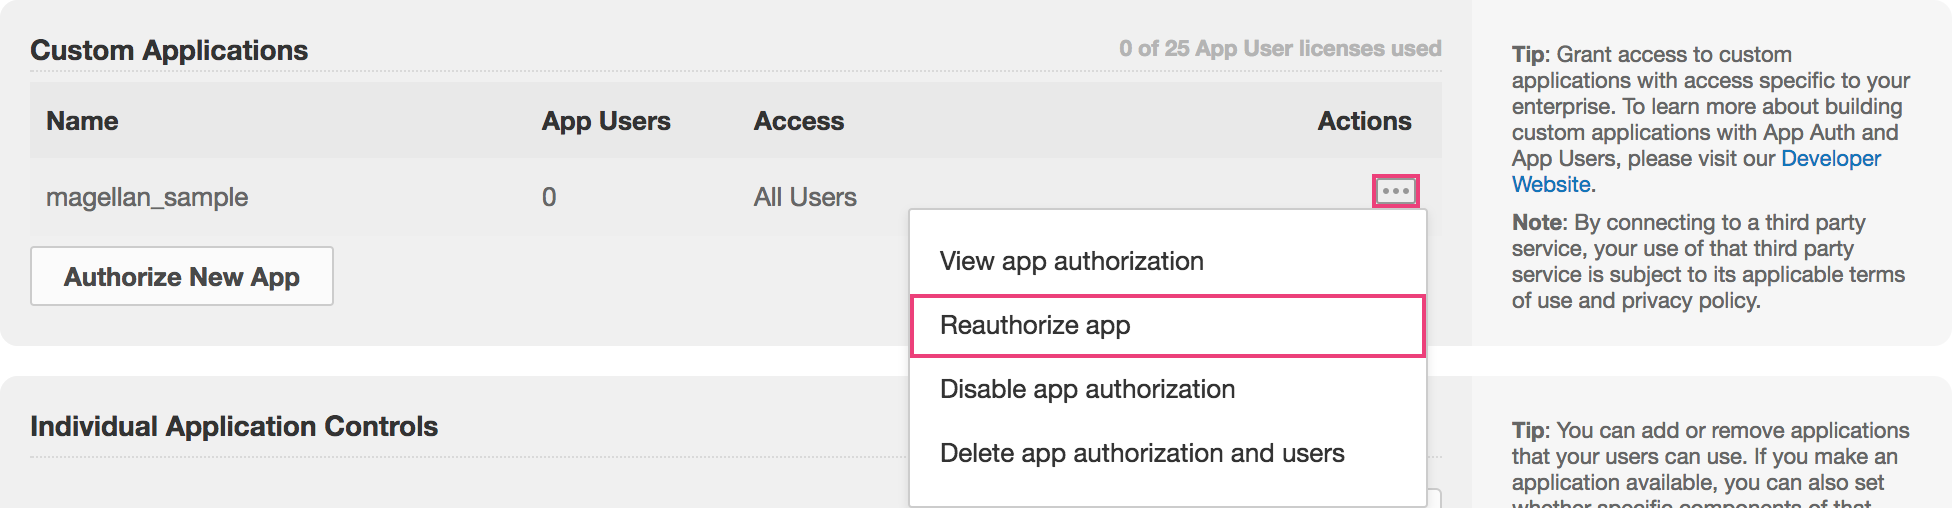
Confirm that the app you added is listed in Custom Applications. If your app’s Application Access is set to Enterprise, you should see All Users in the Access column.

-
If you see Only App Users of this App in the Access column, go to the Dev Consoleopen_in_new and change the following settings:
- Set Application Access to Enterprise.
- Under Advanced Features, turn on Perform Actions as Users and Generate User Access Tokens.
-
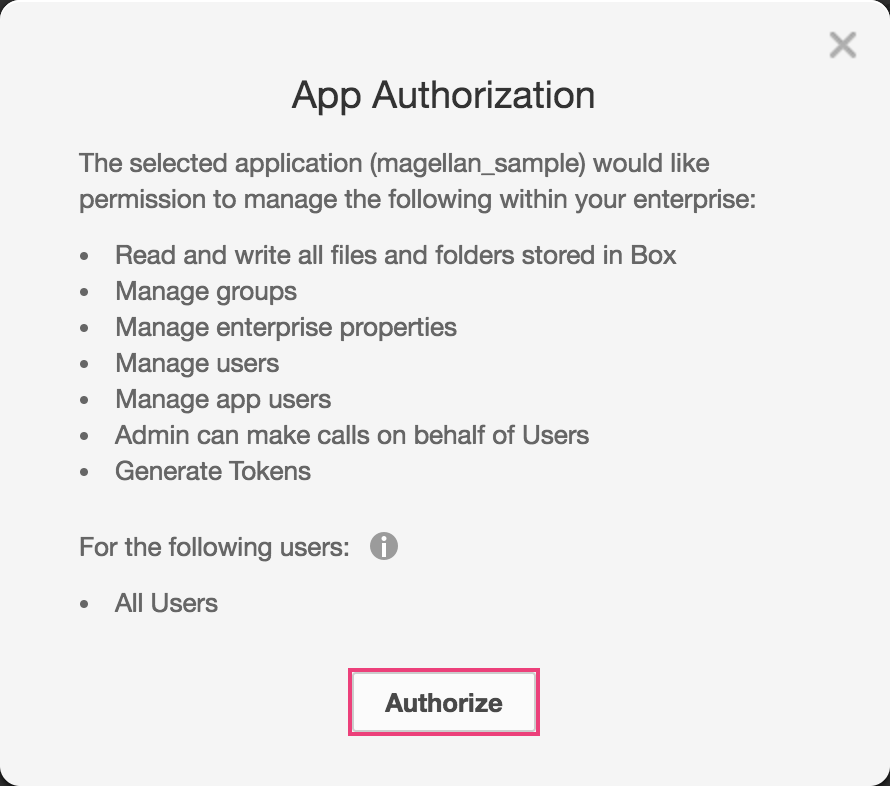
Click more_horiz in the Actions column, and select Reauthorize App. Click Authorize on the App Authorization page.
-
Confirm that the Access column now shows All Users.
-
4. Register the Box service account into BLOCKS
Follow the steps below to register your Box service account into BLOCKS. The file you downloaded from the Box Dev Console contains information for your Box service account. You will register this file into BLOCKS.
-
Open a Flow Designer.
-
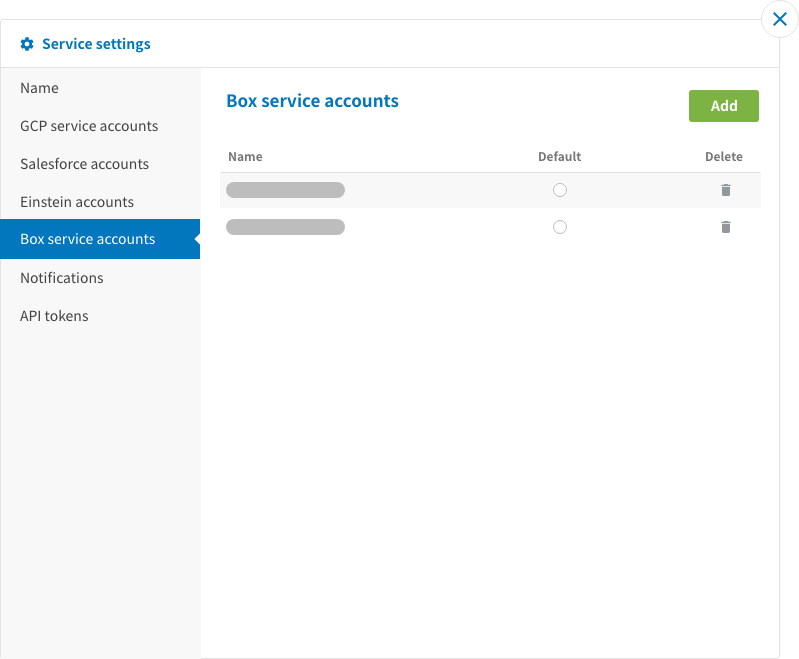
Click Settings.
-
Select Box service accounts from the sidebar.
-
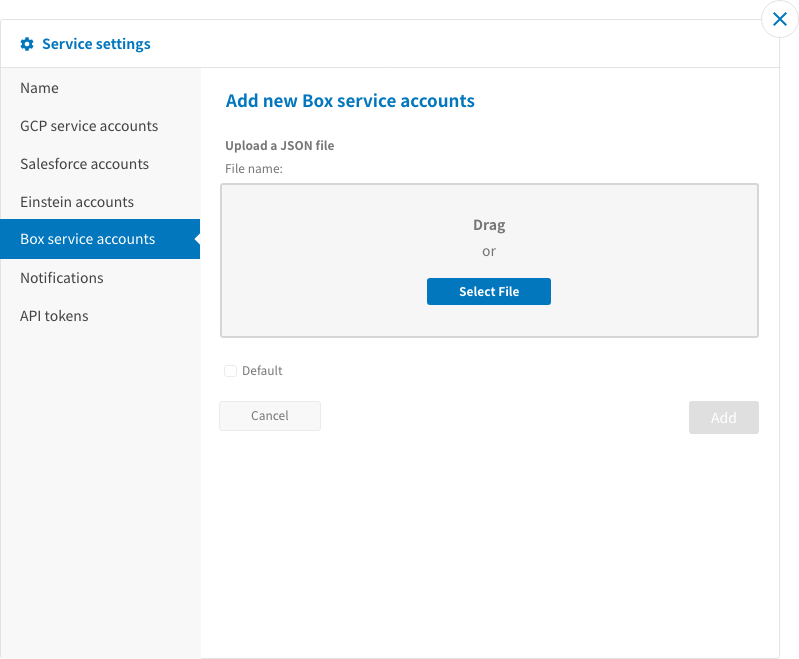
Click Add.
-
Drop the file into the gray box or click Select File.
-
Click Add.
You can now use Box from BLOCKS.